Preface
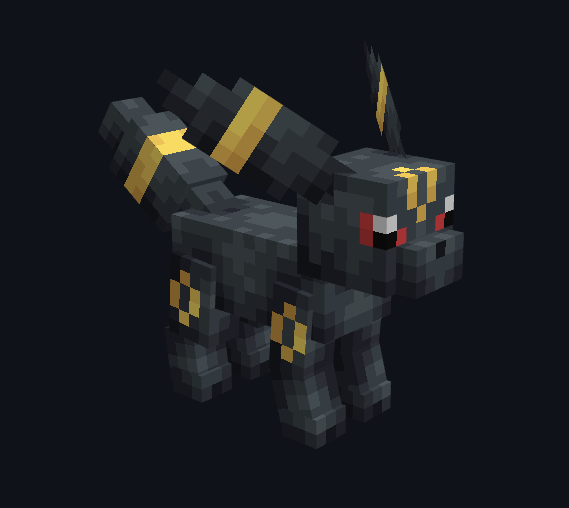
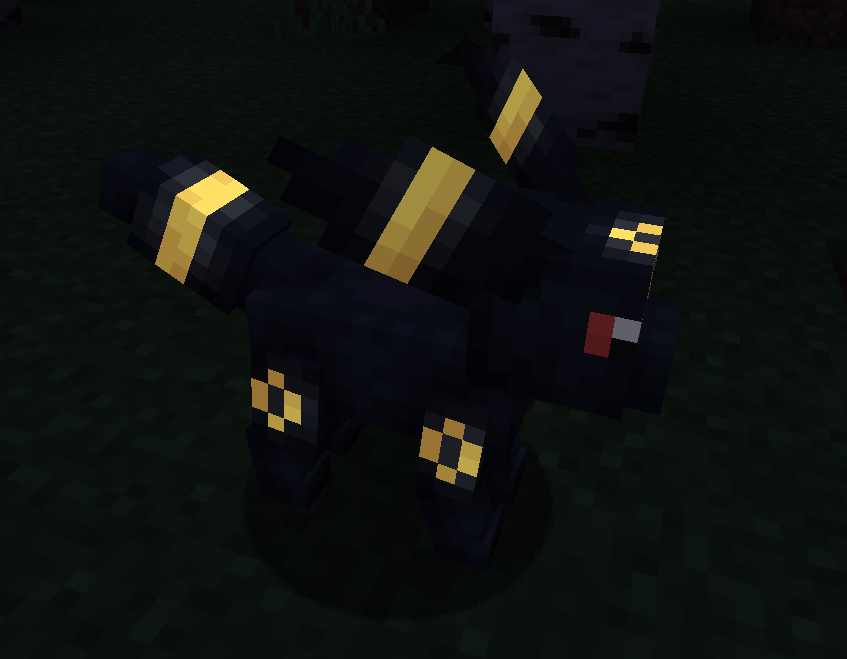
This tutorial will teach you how to add emissive textures to a Pokémon. Emissive textures are an additional layer of textures unaffected by light levels and give off the illusion of glowing in the dark. A premade model with textures is required.
Step 1: Creating your emissive texture
In order to start, you will need an existing Pokémon model and texture to be loaded in Blockbench. Since emissives are treated as a second layer of textures on the model, you will need to create a second PNG but blank. The glowing textures are painted on this second PNG. Alternatively, this PNG can be created in other image editors such as paint.net or https://pixlr.com/.
- Load your target pokemon's model and texture into Blockbench
- Click on "Create Texture" or press Ctrl+Shift+T
- Name the texture
<pokemon>_emissive - Change the type to blank
- Click confirm. The resolution of the original texture should be retained.
- On this new blank PNG, paint only the parts of your Pokémon that should glow
- Create another emissive PNG for the shiny version of your Pokémon. Name the PNG
<pokemon>_shiny_emissive(optional) - When finished painting, click the save button or press Ctrl+S
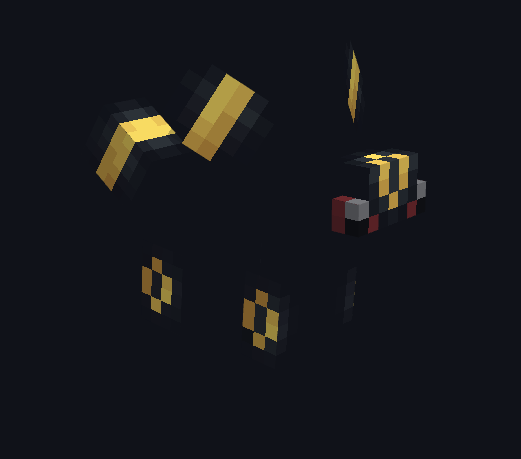
You should now have 2 PNGs for your Pokémon similar to these Umbreon textures:
Step 1.5: Enhancing your emissive texture with opacity (optional)
If you pay close attention to Umbreon's emissive texture, you can see that more than just its yellow bits are textured. There are a few black pixels that are not opaque! When in game, this will enhance the glowing illusion by making it seem like the emissives are casting light on the nearby body parts. This step may require a lot of trial and error to look right! You can always come back to it later.
- Load your target Pokémon's model and emissive texture into Blockbench.
- Change the opacity value of the paint brush. Opacity controls the brightness of the emissive. 255 is for maximum brightness. The closer this value is to 0, the more translucent it becomes.
- Paint beyond the glowing parts of the Pokémon. Make it look like some light is shining on the nearby body parts.
- Improve the emissive PNG for the shiny version of your Pokémon (optional)
- When finished painting, click the save button or press Ctrl+S.
Step 2: Add the new textures to a resourcepack
You can simply place these emissive PNGs in the target pokemon's texture folder. Gather your new files and locate your pokemon's resourcepack, or make one if you haven't already.(future page link)
The textures should be arranged in the resource pack folder like so:
- (resource pack name)
- assets
- cobblemon
- textures
- pokemon
- (target pokemon)
- (pokemon).png
- (pokemon)_emissive.png
- (pokemon)_shiny.png(optional)
- (pokemon)_shiny_emissive.png(optional)
- (target pokemon)
- pokemon
- textures
- cobblemon
- assets
Step 3: Assign the emissive texture to the resolver file
Now that textures are finished, you can assign them to the model they were made for through the resolver file. The emissive PNG will be assigned as a layer applied over the normal texture PNG. Layered textures can have several properties applied to them. For the purpose of this tutorial, we will apply the emissive and translucent properties.
- Open your Pokémon's resolver(link to future resolver file page) JSON in your preferred text editor.
- Insert the string(???) for "layers" with the following data: 😭
"layers": [
       {
             "name": "emissive",
             "emissive": true,
             "texture": "cobblemon:textures/pokemon/<target pokemon folder>/<target pokemon>_emissive.png",
             "translucent": true
       }
     ]
- step3:Insert the data again but for your shiny emissive (optional)
- step4:Save your changes to the resolver file
When finished, the resolver should resemble Umbreon's:
(Oh lord pls halp. this code block is ugly. Why wont the curly brackets go in) {
 "species": "cobblemon:umbreon",
 "order": 0,
 "variations": [
   {
     "aspects": [],
     "poser": "cobblemon:umbreon",
     "model": "cobblemon:umbreon.geo",
     "texture": "cobblemon:textures/pokemon/0197_umbreon/umbreon.png",
     "layers": [
       {
             "name": "emissive",
             "emissive": true,
             "texture": "cobblemon:textures/pokemon/0197_umbreon/umbreon_emissive.png",
             "translucent": true
       }
     ]
   },
   {
     "aspects": [
       "shiny"
     ],
     "texture": "cobblemon:textures/pokemon/0197_umbreon/umbreon_shiny.png",
     "layers": [
       {
             "name": "emissive",
             "emissive": true,
             "texture": "cobblemon:textures/pokemon/0197_umbreon/umbreon_shiny_emissive.png",
             "translucent": true
       }
     ]
   }
 ]
}
Step 4: Test your textures in game
You'll want to look at your textures in game to see if they look the way you want them to. You can have Blockbench open to edit the PNG in the resourcepacks folder if needed.
- Copy your pack folder and place it in the "resourcepacks" folder in the Minecraft root directory.
- Start up Minecraft and click on Options, then Resource Packs. Select your pack to load it.
- Load/create a world save that contains Cobblemon.
- Once in the world, you can run the command
/pokespawn <target pokemon>. - Ensure your new textures are working properly. You can change the time of day to see the difference.
- Make any desired edits to the emissive PNGs and save. Refresh resource packs with F3+T to see the changes you make.


