Poké Ball: Difference between revisions
No edit summary |
PushedTester (talk | contribs) (→History: Updated History to use the new template) |
||
| (48 intermediate revisions by 6 users not shown) | |||
| Line 32: | Line 32: | ||
| image31 = Master Ball (model).png | | image31 = Master Ball (model).png | ||
| image32 = Cherish Ball (model).png | | image32 = Cherish Ball (model).png | ||
| image33 = Strange Ball (model).png | |||
| item = Poke Ball.png | | item = Poke Ball.png | ||
| itemtooltip = Poké Ball | | itemtooltip = Poké Ball | ||
| Line 96: | Line 97: | ||
| item32 = Cherish Ball.png | | item32 = Cherish Ball.png | ||
| itemtooltip32 = Cherish Ball | | itemtooltip32 = Cherish Ball | ||
}} | }} | ||
A '''Poké Ball''' is a tool used for catching and storing caught Pokémon. | A '''Poké Ball''' is a tool used for catching and storing caught [[Pokémon]]. | ||
There are 48 variants of Poké Balls, 46 of which are obtainable via crafting. | There are 48 variants of Poké Balls, 46 of which are obtainable via crafting. | ||
| Line 106: | Line 106: | ||
==Obtaining== | ==Obtaining== | ||
As of Cobblemon version 1. | ===Crafting=== | ||
As of Cobblemon version 1.6, all Poké Balls aside from [[Poké Ball#Net Ball|Net Balls]], [[Poké Ball#Dive Ball|Dive Balls]] and [[Poké Ball#Lure Ball|Lure Balls]] must be crafted as there is no other way to obtain them. New villager professions will potentially sell Poké Balls and new [[Structure|structures]] may contain Poké Balls and other related items in future updates. | |||
The Cherish Ball and Ancient Origin Ball are currently unobtainable in survival gameplay and can only be obtained through Creative Mode or commands. They can freely be used for any purpose, such as for event distributions on servers. | The [[Poké Ball#Cherish Ball|Cherish Ball]] and [[Ancient Poké Ball#Ancient Origin Ball|Ancient Origin Ball]] are currently unobtainable in survival gameplay and can only be obtained through Creative Mode or commands. They can freely be used for any purpose, such as for event distributions on servers. | ||
===Gilded Chest Loot=== | |||
Net Balls, Dive Balls and Lure Balls can all be obtained via [[Mini Dungeon]] structures, specifically the [[Mini Dungeon#Shipwreck Cove|Shipwreck Cove]] structure. | |||
==Usage== | ==Usage== | ||
Poké Balls are one of the most important tools in Cobblemon. Other Pokémon cannot be obtained | ===Catching Pokémon=== | ||
Poké Balls are one of the most important tools in Cobblemon. Other Pokémon cannot be obtained without them (Aside from the chosen initial starter). | |||
In order to catch Pokémon in a Poké Ball, the Poké Ball must first be equipped in a player's hand by selecting it in the hotbar. The Poké Ball can then be thrown at a Pokémon for a chance at capture. If a Poké Ball misses a Pokémon, the thrown ball will drop on the ground as an item and can be recovered. | In order to catch Pokémon in a Poké Ball, the Poké Ball must first be equipped in a player's hand by selecting it in the hotbar. The Poké Ball can then be thrown at a Pokémon for a chance at capture. If a Poké Ball misses a Pokémon, the thrown ball will drop on the ground as an item and can be recovered. | ||
| Line 123: | Line 128: | ||
Each variation of Poké Ball will display as an icon in the party menu and PC. These icons are purely aesthetic and have no special features. | Each variation of Poké Ball will display as an icon in the party menu and PC. These icons are purely aesthetic and have no special features. | ||
===Smithing=== | |||
{{SmithingInterface | |||
| input1 = {{ItemSlot| item = Smithing Template (Poké Rod Upgrade)}} | |||
| input2 = {{ItemSlot| item = Fishing Rod}} | |||
| input3 = {{ItemSlot| item = Poke Ball; Citrine Ball; Verdant Ball; Azure Ball; Roseate Ball; Slate Ball; Premier Ball; Great Ball; Ultra Ball; Safari Ball; Fast Ball; Level Ball; Lure Ball; Heavy Ball; Love Ball; Friend Ball; Moon Ball; Sport Ball; Park Ball; Net Ball; Dive Ball; Nest Ball; Repeat Ball; Timer Ball; Luxury Ball; Dusk Ball; Heal Ball; Quick Ball; Dream Ball; Beast Ball; Master Ball; Cherish Ball| link = Poké Ball | tooltip = Any Poké Ball}} | |||
| output = {{ItemSlot| item = Poke Rod (Poke Ball); Poke Rod (Citrine Ball); Poke Rod (Verdant Ball); Poke Rod (Azure Ball); Poke Rod (Roseate Ball); Poke Rod (Slate Ball); Poke Rod (Premier Ball); Poke Rod (Great Ball); Poke Rod (Ultra Ball); Poke Rod (Safari Ball); Poke Rod (Fast Ball); Poke Rod (Level Ball); Poke Rod (Lure Ball); Poke Rod (Heavy Ball); Poke Rod (Love Ball); Poke Rod (Friend Ball); Poke Rod (Moon Ball); Poke Rod (Sport Ball); Poke Rod (Park Ball); Poke Rod (Net Ball); Poke Rod (Dive Ball); Poke Rod (Nest Ball); Poke Rod (Repeat Ball); Poke Rod (Timer Ball); Poke Rod (Luxury Ball); Poke Rod (Dusk Ball); Poke Rod (Heal Ball); Poke Rod (Quick Ball); Poke Rod (Dream Ball); Poke Rod (Beast Ball); Poke Rod (Master Ball); Poke Rod (Cherish Ball)| link = Poké Rod | tooltip = Poké Rod}} | |||
}} | |||
==Poké Ball Types== | ==Poké Ball Types== | ||
| Line 133: | Line 145: | ||
}} | }} | ||
A Poké Ball is one of the 7 basic Poké Balls needed for the '''A Full Palette''' advancement. | A Poké Ball is one of the 7 basic Poké Balls needed for the '''A Full Palette''' [[Advancements|advancement]]. | ||
As with the other 6 basic Poké Balls, it is relatively easy to make, requiring 4 red [[apricorn]] | As with the other 6 basic Poké Balls, it is relatively easy to make, requiring 4 red [[apricorn|apricorns]] and a [[minecraftwiki:Copper ingot|copper ingot]] to craft. | ||
While ''Poké Ball'' can be a general term to refer to a Poké Ball of any kind, ''Poké Ball'' can also refer to this ball type specifically. | While ''Poké Ball'' can be a general term to refer to a Poké Ball of any kind, ''Poké Ball'' can also refer to this ball type specifically. | ||
| Line 141: | Line 153: | ||
It has a static catch rate of 1×. | It has a static catch rate of 1×. | ||
{{CraftingInterface | {{CraftingInterface | ||
| A2 = Red Apricorn | | A2 = {{ItemSlot| item = Red Apricorn | link = Red Apricorn}} | ||
| B1 = Red Apricorn | | B1 = {{ItemSlot| item = Red Apricorn | link = Red Apricorn}} | ||
| B2 = Copper Ingot | | B2 = {{ItemSlot| item = Copper Ingot | link = minecraftwiki:Copper Ingot}} | ||
| B3 = Red Apricorn | | B3 = {{ItemSlot| item = Red Apricorn | link = Red Apricorn}} | ||
| C2 = Red Apricorn | | C2 = {{ItemSlot| item = Red Apricorn | link = Red Apricorn}} | ||
| output = | | output = {{ItemSlot| item = Poke Ball | amount = 4}} | ||
}} | }} | ||
| Line 166: | Line 178: | ||
It has a static catch rate of 1×. | It has a static catch rate of 1×. | ||
{{CraftingInterface | {{CraftingInterface | ||
| A2 = Yellow Apricorn | | A2 = {{ItemSlot| item = Yellow Apricorn | link = Yellow Apricorn}} | ||
| B1 = Yellow Apricorn | | B1 = {{ItemSlot| item = Yellow Apricorn | link = Yellow Apricorn}} | ||
| B2 = Copper Ingot | | B2 = {{ItemSlot| item = Copper Ingot | link = minecraftwiki:Copper Ingot}} | ||
| B3 = Yellow Apricorn | | B3 = {{ItemSlot| item = Yellow Apricorn | link = Yellow Apricorn}} | ||
| C2 = Yellow Apricorn | | C2 = {{ItemSlot| item = Yellow Apricorn | link = Yellow Apricorn}} | ||
| output = Citrine Ball | | | output = {{ItemSlot| item = Citrine Ball | amount = 4}} | ||
}} | }} | ||
| Line 191: | Line 203: | ||
It has a static catch rate of 1×. | It has a static catch rate of 1×. | ||
{{CraftingInterface | {{CraftingInterface | ||
| A2 = Green Apricorn | | A2 = {{ItemSlot| item = Green Apricorn | link = Green Apricorn}} | ||
| B1 = Green Apricorn | | B1 = {{ItemSlot| item = Green Apricorn | link = Green Apricorn}} | ||
| B2 = Copper Ingot | | B2 = {{ItemSlot| item = Copper Ingot | link = minecraftwiki:Copper Ingot}} | ||
| B3 = Green Apricorn | | B3 = {{ItemSlot| item = Green Apricorn | link = Green Apricorn}} | ||
| C2 = Green Apricorn | | C2 = {{ItemSlot| item = Green Apricorn | link = Green Apricorn}} | ||
| output = Verdant Ball | | | output = {{ItemSlot| item = Verdant Ball | amount = 4}} | ||
}} | }} | ||
| Line 216: | Line 228: | ||
It has a static catch rate of 1×. | It has a static catch rate of 1×. | ||
{{CraftingInterface | {{CraftingInterface | ||
| A2 = Blue Apricorn | | A2 = {{ItemSlot| item = Blue Apricorn | link = Blue Apricorn}} | ||
| B1 = Blue Apricorn | | B1 = {{ItemSlot| item = Blue Apricorn | link = Blue Apricorn}} | ||
| B2 = Copper Ingot | | B2 = {{ItemSlot| item = Copper Ingot | link = minecraftwiki:Copper Ingot}} | ||
| B3 = Blue Apricorn | | B3 = {{ItemSlot| item = Blue Apricorn | link = Blue Apricorn}} | ||
| C2 = Blue Apricorn | | C2 = {{ItemSlot| item = Blue Apricorn | link = Blue Apricorn}} | ||
| output = Azure Ball | | | output = {{ItemSlot| item = Azure Ball | amount = 4}} | ||
}} | }} | ||
| Line 241: | Line 253: | ||
It has a static catch rate of 1×. | It has a static catch rate of 1×. | ||
{{CraftingInterface | {{CraftingInterface | ||
| A2 = Pink Apricorn | | A2 = {{ItemSlot| item = Pink Apricorn | link = Pink Apricorn}} | ||
| B1 = Pink Apricorn | | B1 = {{ItemSlot| item = Pink Apricorn | link = Pink Apricorn}} | ||
| B2 = Copper Ingot | | B2 = {{ItemSlot| item = Copper Ingot | link = minecraftwiki:Copper Ingot}} | ||
| B3 = Pink Apricorn | | B3 = {{ItemSlot| item = Pink Apricorn | link = Pink Apricorn}} | ||
| C2 = Pink Apricorn | | C2 = {{ItemSlot| item = Pink Apricorn | link = Pink Apricorn}} | ||
| output = Roseate Ball | | | output = {{ItemSlot| item = Roseate Ball | amount = 4}} | ||
}} | }} | ||
| Line 260: | Line 272: | ||
A Slate Ball is one of the 7 basic Poké Balls needed for the '''A Full Palette''' advancement. | A Slate Ball is one of the 7 basic Poké Balls needed for the '''A Full Palette''' advancement. | ||
As with the other 6 basic Poké Balls, it is relatively easy to make, requiring 4 black apricorns and a copper ingot to craft. | As with the other 6 basic Poké Balls, it is relatively easy to make, requiring 4 black apricorns and a copper ingot to craft. | ||
It is one of the 5 original Poké Balls created for Cobblemon. | It is one of the 5 original Poké Balls created for Cobblemon. | ||
| Line 266: | Line 278: | ||
It has a static catch rate of 1×. | It has a static catch rate of 1×. | ||
{{CraftingInterface | {{CraftingInterface | ||
| A2 = Black Apricorn | | A2 = {{ItemSlot| item = Black Apricorn | link = Black Apricorn}} | ||
| B1 = Black Apricorn | | B1 = {{ItemSlot| item = Black Apricorn | link = Black Apricorn}} | ||
| B2 = Copper Ingot | | B2 = {{ItemSlot| item = Copper Ingot | link = minecraftwiki:Copper Ingot}} | ||
| B3 = Black Apricorn | | B3 = {{ItemSlot| item = Black Apricorn | link = Black Apricorn}} | ||
| C2 = Black Apricorn | | C2 = {{ItemSlot| item = Black Apricorn | link = Black Apricorn}} | ||
| output = Slate Ball | | | output = {{ItemSlot| item = Slate Ball | amount = 4}} | ||
}} | }} | ||
| Line 291: | Line 303: | ||
It has a static catch rate of 1×. | It has a static catch rate of 1×. | ||
{{CraftingInterface | {{CraftingInterface | ||
| A2 = White Apricorn | | A2 = {{ItemSlot| item = White Apricorn | link = White Apricorn}} | ||
| B1 = White Apricorn | | B1 = {{ItemSlot| item = White Apricorn | link = White Apricorn}} | ||
| B2 = Copper Ingot | | B2 = {{ItemSlot| item = Copper Ingot | link = minecraftwiki:Copper Ingot}} | ||
| B3 = White Apricorn | | B3 = {{ItemSlot| item = White Apricorn | link = White Apricorn}} | ||
| C2 = White Apricorn | | C2 = {{ItemSlot| item = White Apricorn | link = White Apricorn}} | ||
| output = Premier Ball | | | output = {{ItemSlot| item = Premier Ball | amount = 4}} | ||
}} | }} | ||
| Line 310: | Line 322: | ||
A Great Ball is a second tier Poké Ball. | A Great Ball is a second tier Poké Ball. | ||
Unlike first tier Poké Balls, Great Balls require an iron ingot and a specific pattern of multi-colored apricorns to craft. | Unlike first tier Poké Balls, Great Balls require an [[minecraftwiki:Iron ingot|iron ingot]] and a specific pattern of multi-colored apricorns to craft. | ||
It functions as a direct upgrade to the Poké Ball, as it has a higher static catch rate. | It functions as a direct upgrade to the Poké Ball, as it has a higher static catch rate. | ||
| Line 316: | Line 328: | ||
It has a static catch rate of 1.5×. | It has a static catch rate of 1.5×. | ||
{{CraftingInterface | {{CraftingInterface | ||
| A2 = Blue Apricorn | | A2 = {{ItemSlot| item = Blue Apricorn | link = Blue Apricorn}} | ||
| B1 = Red Apricorn | | B1 = {{ItemSlot| item = Red Apricorn | link = Red Apricorn}} | ||
| B2 = Iron Ingot | | B2 = {{ItemSlot| item = Iron Ingot | link = minecraftwiki:Iron Ingot}} | ||
| B3 = Red Apricorn | | B3 = {{ItemSlot| item = Red Apricorn | link = Red Apricorn}} | ||
| C2 = Blue Apricorn | | C2 = {{ItemSlot| item = Blue Apricorn | link = Blue Apricorn}} | ||
| output = Great Ball | | | output = {{ItemSlot| item = Great Ball | amount = 4}} | ||
}} | }} | ||
| Line 335: | Line 347: | ||
An Ultra Ball is a third tier Poké Ball. | An Ultra Ball is a third tier Poké Ball. | ||
Unlike first and second tier Poké Balls, Ultra Balls require a gold ingot and a specific pattern of multi-colored apricorns to craft. | Unlike first and second tier Poké Balls, Ultra Balls require a [[minecraftwiki:Gold ingot|gold ingot]] and a specific pattern of multi-colored apricorns to craft. | ||
It functions as a direct upgrade to the Great Ball, as it has a higher static catch rate. | It functions as a direct upgrade to the Great Ball, as it has a higher static catch rate. | ||
| Line 341: | Line 353: | ||
It has a static catch rate of 2×. | It has a static catch rate of 2×. | ||
{{CraftingInterface | {{CraftingInterface | ||
| A2 = Black Apricorn | | A2 = {{ItemSlot| item = Black Apricorn | link = Black Apricorn}} | ||
| B1 = Yellow Apricorn | | B1 = {{ItemSlot| item = Yellow Apricorn | link = Yellow Apricorn}} | ||
| B2 = Gold Ingot | | B2 = {{ItemSlot| item = Gold Ingot | link = minecraftwiki:Gold Ingot}} | ||
| B3 = Yellow Apricorn | | B3 = {{ItemSlot| item = Yellow Apricorn | link = Yellow Apricorn}} | ||
| C2 = Black Apricorn | | C2 = {{ItemSlot| item = Black Apricorn | link = Black Apricorn}} | ||
| output = Ultra Ball | | | output = {{ItemSlot| item = Ultra Ball | amount = 4}} | ||
}} | }} | ||
| Line 366: | Line 378: | ||
It has a catch rate of 1.5× when used on a Pokémon outside of battle. | It has a catch rate of 1.5× when used on a Pokémon outside of battle. | ||
{{CraftingInterface | {{CraftingInterface | ||
| A2 = Yellow Apricorn | | A2 = {{ItemSlot| item = Yellow Apricorn | link = Yellow Apricorn}} | ||
| B1 = Green Apricorn | | B1 = {{ItemSlot| item = Green Apricorn | link = Green Apricorn}} | ||
| B2 = Copper Ingot | | B2 = {{ItemSlot| item = Copper Ingot | link = minecraftwiki:Copper Ingot}} | ||
| B3 = Green Apricorn | | B3 = {{ItemSlot| item = Green Apricorn | link = Green Apricorn}} | ||
| C2 = White Apricorn | | C2 = {{ItemSlot| item = White Apricorn | link = White Apricorn}} | ||
| output = Safari Ball | | | output = {{ItemSlot| item = Safari Ball | amount = 4}} | ||
}} | }} | ||
| Line 383: | Line 395: | ||
}} | }} | ||
A Fast Ball is one of the 7 | A Fast Ball is one of the 7 apricorns Poké Balls needed for the '''Kurt would be Proud''' advancement. | ||
Unlike first tier Poké Balls, Fast Balls require an iron ingot and a specific pattern of multi-colored apricorns to craft. | Unlike first tier Poké Balls, Fast Balls require an iron ingot and a specific pattern of multi-colored apricorns to craft. | ||
| Line 391: | Line 403: | ||
It has a catch rate of 4× when used on Pokémon with 100 or more Base Speed. | It has a catch rate of 4× when used on Pokémon with 100 or more Base Speed. | ||
{{CraftingInterface | {{CraftingInterface | ||
| A2 = Red Apricorn | | A2 = {{ItemSlot| item = Red Apricorn | link = Red Apricorn}} | ||
| B1 = Yellow Apricorn | | B1 = {{ItemSlot| item = Yellow Apricorn | link = Yellow Apricorn}} | ||
| B2 = Iron Ingot | | B2 = {{ItemSlot| item = Iron Ingot | link = minecraftwiki:Iron Ingot}} | ||
| B3 = Yellow Apricorn | | B3 = {{ItemSlot| item = Yellow Apricorn | link = Yellow Apricorn}} | ||
| C2 = White Apricorn | | C2 = {{ItemSlot| item = White Apricorn | link = White Apricorn}} | ||
| output = Fast Ball | | | output = {{ItemSlot| item = Fast Ball | amount = 4}} | ||
}} | }} | ||
| Line 408: | Line 420: | ||
}} | }} | ||
A Level Ball is one of the 7 | A Level Ball is one of the 7 apricorns Poké Balls needed for the '''Kurt would be Proud''' advancement. | ||
Unlike first tier Poké Balls, Level Balls require an iron ingot and a specific pattern of multi-colored apricorns to craft. | Unlike first tier Poké Balls, Level Balls require an iron ingot and a specific pattern of multi-colored apricorns to craft. | ||
| Line 426: | Line 438: | ||
* If none of the above conditions are met, the Level Ball modifier defaults to 1.0. | * If none of the above conditions are met, the Level Ball modifier defaults to 1.0. | ||
{{CraftingInterface | {{CraftingInterface | ||
| A2 = Black Apricorn | | A2 = {{ItemSlot| item = Black Apricorn | link = Black Apricorn}} | ||
| B1 = | | B1 = {{ItemSlot| item = Pink Apricorn | link = Pink Apricorn}} | ||
| B2 = Iron Ingot | | B2 = {{ItemSlot| item = Iron Ingot | link = minecraftwiki:Iron Ingot}} | ||
| B3 = Pink Apricorn | | B3 = {{ItemSlot| item = Pink Apricorn | link = Pink Apricorn}} | ||
| C2 = Red Apricorn | | C2 = {{ItemSlot| item = Red Apricorn | link = Red Apricorn}} | ||
| output = Level Ball | | | output = {{ItemSlot| item = Level Ball | amount = 4}} | ||
}} | }} | ||
| Line 443: | Line 455: | ||
}} | }} | ||
A Lure Ball is one of the 7 | A Lure Ball is one of the 7 apricorns Poké Balls needed for the '''Kurt would be Proud''' advancement. | ||
Unlike first tier Poké Balls, Lure Balls require an iron ingot and a specific pattern of multi-colored apricorns to craft. | Unlike first tier Poké Balls, Lure Balls require an iron ingot and a specific pattern of multi-colored apricorns to craft. | ||
| Line 449: | Line 461: | ||
Like most Poké Balls, its catch rate can change drastically under specific conditions. | Like most Poké Balls, its catch rate can change drastically under specific conditions. | ||
The Lure Ball has a 2x catch rate on Pokémon that were caught via a Poké Rod. | The Lure Ball has a 2x catch rate on Pokémon that were caught via a [[Poké_Rod|Poké Rod]]. | ||
Before 1.6, it has a catch rate of 2× on Water-type Pokémon. | Before 1.6, it has a catch rate of 2× on Water-type Pokémon. | ||
{{CraftingInterface | {{CraftingInterface | ||
| A2 = Red Apricorn | | A2 = {{ItemSlot| item = Red Apricorn | link = Red Apricorn}} | ||
| B1 = Blue Apricorn | | B1 = {{ItemSlot| item = Blue Apricorn | link = Blue Apricorn}} | ||
| B2 = Iron Ingot | | B2 = {{ItemSlot| item = Iron Ingot | link = minecraftwiki:Iron Ingot}} | ||
| B3 = | | B3 = {{ItemSlot| item = Blue Apricorn | link = Blue Apricorn}} | ||
| C2 = | | C2 = {{ItemSlot| item = Green Apricorn | link = Green Apricorn}} | ||
| output = Lure Ball | | | output = {{ItemSlot| item = Lure Ball | amount = 4}} | ||
}} | }} | ||
| Line 470: | Line 482: | ||
}} | }} | ||
A Heavy Ball is one of the 7 | A Heavy Ball is one of the 7 apricorns Poké Balls needed for the '''Kurt would be Proud''' advancement. | ||
Unlike first tier Poké Balls, Heavy Balls require an iron ingot and a specific pattern of multi-colored apricorns to craft. | Unlike first tier Poké Balls, Heavy Balls require an iron ingot and a specific pattern of multi-colored apricorns to craft. | ||
| Line 488: | Line 500: | ||
* If the Pokémon's form weight is below 1000 hectograms, the catch rate remains unchanged at 1.0. | * If the Pokémon's form weight is below 1000 hectograms, the catch rate remains unchanged at 1.0. | ||
{{CraftingInterface | {{CraftingInterface | ||
| A2 = Black Apricorn | | A2 = {{ItemSlot| item = Black Apricorn | link = Black Apricorn}} | ||
| B1 = Blue Apricorn | | B1 = {{ItemSlot| item = Blue Apricorn | link = Blue Apricorn}} | ||
| B2 = Iron Ingot | | B2 = {{ItemSlot| item = Iron Ingot | link = minecraftwiki:Iron Ingot}} | ||
| B3 = Blue Apricorn | | B3 = {{ItemSlot| item = Blue Apricorn | link = Blue Apricorn}} | ||
| C2 = Black Apricorn | | C2 = {{ItemSlot| item = Black Apricorn | link = Black Apricorn}} | ||
| output = Heavy Ball | | | output = {{ItemSlot| item = Heavy Ball | amount = 4}} | ||
}} | }} | ||
| Line 505: | Line 517: | ||
}} | }} | ||
A Love Ball is one of the 7 | A Love Ball is one of the 7 apricorns Poké Balls needed for the '''Kurt would be Proud''' advancement. | ||
Unlike first and second tier Poké Balls, Love Balls require a gold ingot and a specific pattern of multi-colored apricorns to craft. | Unlike first and second tier Poké Balls, Love Balls require a gold ingot and a specific pattern of multi-colored apricorns to craft. | ||
| Line 513: | Line 525: | ||
It has a catch rate of 8× if the target is the opposite gender and the same species as one of the player's Pokémon. Otherwise, it has a 1× catch rate. | It has a catch rate of 8× if the target is the opposite gender and the same species as one of the player's Pokémon. Otherwise, it has a 1× catch rate. | ||
{{CraftingInterface | {{CraftingInterface | ||
| A2 = White Apricorn | | A2 = {{ItemSlot| item = White Apricorn | link = White Apricorn}} | ||
| B1 = Pink Apricorn | | B1 = {{ItemSlot| item = Pink Apricorn | link = Pink Apricorn}} | ||
| B2 = Gold Ingot | | B2 = {{ItemSlot| item = Gold Ingot | link = minecraftwiki:Gold Ingot}} | ||
| B3 = Pink Apricorn | | B3 = {{ItemSlot| item = Pink Apricorn | link = Pink Apricorn}} | ||
| C2 = Pink Apricorn | | C2 = {{ItemSlot| item = Pink Apricorn | link = Pink Apricorn}} | ||
| output = Love Ball | | | output = {{ItemSlot| item = Love Ball | amount = 4}} | ||
}} | }} | ||
| Line 530: | Line 542: | ||
}} | }} | ||
A Friend Ball is one of the 7 | A Friend Ball is one of the 7 apricorns Poké Balls needed for the '''Kurt would be Proud''' advancement. | ||
Unlike first tier Poké Balls, Friend Balls requires an iron ingot and a specific pattern of multi-colored apricorns to craft. | Unlike first tier Poké Balls, Friend Balls requires an iron ingot and a specific pattern of multi-colored apricorns to craft. | ||
| Line 536: | Line 548: | ||
It has a catch rate of 1×. Pokémon caught in a Friend Ball will start with 150 Friendship. | It has a catch rate of 1×. Pokémon caught in a Friend Ball will start with 150 Friendship. | ||
{{CraftingInterface | {{CraftingInterface | ||
| A2 = Yellow Apricorn | | A2 = {{ItemSlot| item = Yellow Apricorn | link = Yellow Apricorn}} | ||
| B1 = Green Apricorn | | B1 = {{ItemSlot| item = Green Apricorn | link = Green Apricorn}} | ||
| B2 = Iron Ingot | | B2 = {{ItemSlot| item = Iron Ingot | link = minecraftwiki:Iron Ingot}} | ||
| B3 = Green Apricorn | | B3 = {{ItemSlot| item = Green Apricorn | link = Green Apricorn}} | ||
| C2 = Red Apricorn | | C2 = {{ItemSlot| item = Red Apricorn | link = Red Apricorn}} | ||
| output = Friend Ball | | | output = {{ItemSlot| item = Friend Ball | amount = 4}} | ||
}} | }} | ||
| Line 553: | Line 565: | ||
}} | }} | ||
A Moon Ball is one of the 7 | A Moon Ball is one of the 7 apricorns Poké Balls needed for the '''Kurt would be Proud''' advancement. | ||
Unlike first tier Poké Balls, Moon Balls require an iron ingot and a specific pattern of multi-colored apricorns to craft. | Unlike first tier Poké Balls, Moon Balls require an iron ingot and a specific pattern of multi-colored apricorns to craft. | ||
| Line 561: | Line 573: | ||
It has a catch rate of anywhere from 1× to 4×. This rate increases based on how close the phase of the moon is to being full, and is only active at night. | It has a catch rate of anywhere from 1× to 4×. This rate increases based on how close the phase of the moon is to being full, and is only active at night. | ||
{{CraftingInterface | {{CraftingInterface | ||
| A2 = Yellow Apricorn | | A2 = {{ItemSlot| item = Yellow Apricorn | link = Yellow Apricorn}} | ||
| B1 = Blue Apricorn | | B1 = {{ItemSlot| item = Blue Apricorn | link = Blue Apricorn}} | ||
| B2 = Iron Ingot | | B2 = {{ItemSlot| item = Iron Ingot | link = minecraftwiki:Iron Ingot}} | ||
| B3 = Black Apricorn | | B3 = {{ItemSlot| item = Black Apricorn | link = Black Apricorn}} | ||
| C2 = | | C2 = {{ItemSlot| item = Yellow Apricorn | link = Yellow Apricorn}} | ||
| output = Moon Ball | | | output = {{ItemSlot| item = Moon Ball | amount = 4}} | ||
}} | }} | ||
| Line 586: | Line 598: | ||
Its catch rate and function is subject to change in future updates. | Its catch rate and function is subject to change in future updates. | ||
{{CraftingInterface | {{CraftingInterface | ||
| A2 = White Apricorn | | A2 = {{ItemSlot| item = White Apricorn | link = White Apricorn}} | ||
| B1 = Red Apricorn | | B1 = {{ItemSlot| item = Red Apricorn | link = Red Apricorn}} | ||
| B2 = Iron Ingot | | B2 = {{ItemSlot| item = Iron Ingot | link = minecraftwiki:Iron Ingot}} | ||
| B3 = Red Apricorn | | B3 = {{ItemSlot| item = Red Apricorn | link = Red Apricorn}} | ||
| C2 = Red Apricorn | | C2 = {{ItemSlot| item = Red Apricorn | link = Red Apricorn}} | ||
| output = Sport Ball | | | output = {{ItemSlot| item = Sport Ball | amount = 4}} | ||
}} | }} | ||
| Line 613: | Line 625: | ||
It has a catch rate of 2.5× when used on a Pokémon inside a Forest or Plains biome. | It has a catch rate of 2.5× when used on a Pokémon inside a Forest or Plains biome. | ||
{{CraftingInterface | {{CraftingInterface | ||
| A2 = Red Apricorn | | A2 = {{ItemSlot| item = Red Apricorn | link = Red Apricorn}} | ||
| B1 = Green Apricorn | | B1 = {{ItemSlot| item = Green Apricorn | link = Green Apricorn}} | ||
| B2 = Iron Ingot | | B2 = {{ItemSlot| item = Iron Ingot | link = minecraftwiki:Iron Ingot}} | ||
| B3 = Green Apricorn | | B3 = {{ItemSlot| item = Green Apricorn | link = Green Apricorn}} | ||
| C2 = Green Apricorn | | C2 = {{ItemSlot| item = Green Apricorn | link = Green Apricorn}} | ||
| output = Park Ball | | | output = {{ItemSlot| item = Park Ball | amount = 4}} | ||
}} | }} | ||
| Line 638: | Line 650: | ||
It has a catch rate of 3× when used on Bug-type or Water-type Pokémon. | It has a catch rate of 3× when used on Bug-type or Water-type Pokémon. | ||
{{CraftingInterface | {{CraftingInterface | ||
| A2 = Black Apricorn | | A2 = {{ItemSlot| item = Black Apricorn | link = Black Apricorn}} | ||
| B1 = Blue Apricorn | | B1 = {{ItemSlot| item = Blue Apricorn | link = Blue Apricorn}} | ||
| B2 = Iron Ingot | | B2 = {{ItemSlot| item = Iron Ingot | link = minecraftwiki:Iron Ingot}} | ||
| B3 = Blue Apricorn | | B3 = {{ItemSlot| item = Blue Apricorn | link = Blue Apricorn}} | ||
| C2 = White Apricorn | | C2 = {{ItemSlot| item = White Apricorn | link = White Apricorn}} | ||
| output = Net Ball | | | output = {{ItemSlot| item = Net Ball | amount = 4}} | ||
}} | }} | ||
| Line 665: | Line 677: | ||
Unlike all other Poké Balls, the Dive Ball is unaffected by underwater drag. This means it moves underwater in the same way that it moves above water. | Unlike all other Poké Balls, the Dive Ball is unaffected by underwater drag. This means it moves underwater in the same way that it moves above water. | ||
{{CraftingInterface | {{CraftingInterface | ||
| A2 = White Apricorn | | A2 = {{ItemSlot| item = White Apricorn | link = White Apricorn}} | ||
| B1 = Blue Apricorn | | B1 = {{ItemSlot| item = Blue Apricorn | link = Blue Apricorn}} | ||
| B2 = Iron Ingot | | B2 = {{ItemSlot| item = Iron Ingot | link = minecraftwiki:Iron Ingot}} | ||
| B3 = Blue Apricorn | | B3 = {{ItemSlot| item = Blue Apricorn | link = Blue Apricorn}} | ||
| C2 = Blue Apricorn | | C2 = {{ItemSlot| item = Blue Apricorn | link = Blue Apricorn}} | ||
| output = Dive Ball | | | output = {{ItemSlot| item = Dive Ball | amount = 4}} | ||
}} | }} | ||
| Line 692: | Line 704: | ||
If the target Pokémon's level is less than 30, a modifier equal to 41 - the target Pokémon's level, divided by 10 is given. | If the target Pokémon's level is less than 30, a modifier equal to 41 - the target Pokémon's level, divided by 10 is given. | ||
{{CraftingInterface | {{CraftingInterface | ||
| A2 = Green Apricorn | | A2 = {{ItemSlot| item = Green Apricorn | link = Green Apricorn}} | ||
| B1 = Yellow Apricorn | | B1 = {{ItemSlot| item = Yellow Apricorn | link = Yellow Apricorn}} | ||
| B2 = Iron Ingot | | B2 = {{ItemSlot| item = Iron Ingot | link = minecraftwiki:Iron Ingot}} | ||
| B3 = Yellow Apricorn | | B3 = {{ItemSlot| item = Yellow Apricorn | link = Yellow Apricorn}} | ||
| C2 = Green Apricorn | | C2 = {{ItemSlot| item = Green Apricorn | link = Green Apricorn}} | ||
| output = Nest Ball | | | output = {{ItemSlot| item = Nest Ball | amount = 4}} | ||
}} | }} | ||
| Line 715: | Line 727: | ||
The Repeat Ball has a 3.5x catch rate if the Pokémon has already been registered as caught in the player's [[Pokédex]]. Before 1.6, it has a static catch rate of 1×. | The Repeat Ball has a 3.5x catch rate if the Pokémon has already been registered as caught in the player's [[Pokédex]]. Before 1.6, it has a static catch rate of 1×. | ||
{{CraftingInterface | {{CraftingInterface | ||
| A2 = Black Apricorn | | A2 = {{ItemSlot| item = Black Apricorn | link = Black Apricorn}} | ||
| B1 = Red Apricorn | | B1 = {{ItemSlot| item = Red Apricorn | link = Red Apricorn}} | ||
| B2 = Gold Ingot | | B2 = {{ItemSlot| item = Gold Ingot | link = minecraftwiki:Gold Ingot}} | ||
| B3 = Red Apricorn | | B3 = {{ItemSlot| item = Red Apricorn | link = Red Apricorn}} | ||
| C2 = Yellow Apricorn | | C2 = {{ItemSlot| item = Yellow Apricorn | link = Yellow Apricorn}} | ||
| output = Repeat Ball | | | output = {{ItemSlot| item = Repeat Ball | amount = 4}} | ||
}} | }} | ||
| Line 740: | Line 752: | ||
It grants a cumulative catch rate of about 0.3× per turn passed in battle, up to a maximum catch rate of 4×. | It grants a cumulative catch rate of about 0.3× per turn passed in battle, up to a maximum catch rate of 4×. | ||
{{CraftingInterface | {{CraftingInterface | ||
| A2 = Red Apricorn | | A2 = {{ItemSlot| item = Red Apricorn | link = Red Apricorn}} | ||
| B1 = White Apricorn | | B1 = {{ItemSlot| item = White Apricorn | link = White Apricorn}} | ||
| B2 = Gold Ingot | | B2 = {{ItemSlot| item = Gold Ingot | link = minecraftwiki:Gold Ingot}} | ||
| B3 = White Apricorn | | B3 = {{ItemSlot| item = White Apricorn | link = White Apricorn}} | ||
| C2 = Black Apricorn | | C2 = {{ItemSlot| item = Black Apricorn | link = Black Apricorn}} | ||
| output = Timer Ball | | | output = {{ItemSlot| item = Timer Ball | amount = 4}} | ||
}} | }} | ||
| Line 763: | Line 775: | ||
It has a static catch rate of 1×. Pokémon caught in a Luxury Ball will gain Friendship twice as fast. | It has a static catch rate of 1×. Pokémon caught in a Luxury Ball will gain Friendship twice as fast. | ||
{{CraftingInterface | {{CraftingInterface | ||
| A2 = Black Apricorn | | A2 = {{ItemSlot| item = Black Apricorn | link = Black Apricorn}} | ||
| B1 = White Apricorn | | B1 = {{ItemSlot| item = White Apricorn | link = White Apricorn}} | ||
| B2 = Gold Ingot | | B2 = {{ItemSlot| item = Gold Ingot | link = minecraftwiki:Gold Ingot}} | ||
| B3 = Red Apricorn | | B3 = {{ItemSlot| item = Red Apricorn | link = Red Apricorn}} | ||
| C2 = Black Apricorn | | C2 = {{ItemSlot| item = Black Apricorn | link = Black Apricorn}} | ||
| output = Luxury Ball | | | output = {{ItemSlot| item = Luxury Ball | amount = 4}} | ||
}} | }} | ||
| Line 786: | Line 798: | ||
Like most Poké Balls, its catch rate can change drastically under specific conditions. | Like most Poké Balls, its catch rate can change drastically under specific conditions. | ||
It has a catch rate of 3× if the target is in light level 0 and 1.5× if | It has a catch rate of 3.5× if the target is in light level 0 and 3× if the target is in light level 1-7. | ||
Before 1.6, it has a catch rate of 3× if the target is in light level 0 and 1.5× if the target is in light level 1-7. | |||
{{CraftingInterface | {{CraftingInterface | ||
| A2 = Green Apricorn | | A2 = {{ItemSlot| item = Green Apricorn | link = Green Apricorn}} | ||
| B1 = Black Apricorn | | B1 = {{ItemSlot| item = Black Apricorn | link = Black Apricorn}} | ||
| B2 = Gold Ingot | | B2 = {{ItemSlot| item = Gold Ingot | link = minecraftwiki:Gold Ingot}} | ||
| B3 = Black Apricorn | | B3 = {{ItemSlot| item = Black Apricorn | link = Black Apricorn}} | ||
| C2 = Green Apricorn | | C2 = {{ItemSlot| item = Green Apricorn | link = Green Apricorn}} | ||
| output = | | output = {{ItemSlot| item = Dusk Ball | amount = 4}} | ||
}} | }} | ||
| Line 811: | Line 825: | ||
It has a static catch rate of 1×. Pokémon caught in a Heal Ball will fully restore HP, PP, and status conditions upon capture. | It has a static catch rate of 1×. Pokémon caught in a Heal Ball will fully restore HP, PP, and status conditions upon capture. | ||
{{CraftingInterface | {{CraftingInterface | ||
| A2 = Pink Apricorn | | A2 = {{ItemSlot| item = Pink Apricorn | link = Pink Apricorn}} | ||
| B1 = White Apricorn | | B1 = {{ItemSlot| item = White Apricorn | link = White Apricorn}} | ||
| B2 = Copper Ingot | | B2 = {{ItemSlot| item = Copper Ingot | link = minecraftwiki:Copper Ingot}} | ||
| B3 = White Apricorn | | B3 = {{ItemSlot| item = White Apricorn | link = White Apricorn}} | ||
| C2 = Pink Apricorn | | C2 = {{ItemSlot| item = Pink Apricorn | link = Pink Apricorn}} | ||
| output = Heal Ball | | | output = {{ItemSlot| item = Heal Ball | amount = 4}} | ||
}} | }} | ||
| Line 836: | Line 850: | ||
It has a catch rate of 5× on the first turn of battle. | It has a catch rate of 5× on the first turn of battle. | ||
{{CraftingInterface | {{CraftingInterface | ||
| A2 = Blue Apricorn | | A2 = {{ItemSlot| item = Blue Apricorn | link = Blue Apricorn}} | ||
| B1 = Yellow Apricorn | | B1 = {{ItemSlot| item = Yellow Apricorn | link = Yellow Apricorn}} | ||
| B2 = Gold Ingot | | B2 = {{ItemSlot| item = Gold Ingot | link = minecraftwiki:Gold Ingot}} | ||
| B3 = Yellow Apricorn | | B3 = {{ItemSlot| item = Yellow Apricorn | link = Yellow Apricorn}} | ||
| C2 = Blue Apricorn | | C2 = {{ItemSlot| item = Blue Apricorn | link = Blue Apricorn}} | ||
| output = Quick Ball | | | output = {{ItemSlot| item = Quick Ball | amount = 4}} | ||
}} | }} | ||
| Line 861: | Line 875: | ||
It has a catch rate of 4× on sleeping Pokémon. | It has a catch rate of 4× on sleeping Pokémon. | ||
{{CraftingInterface | {{CraftingInterface | ||
| A2 = Red Apricorn | | A2 = {{ItemSlot| item = Red Apricorn | link = Red Apricorn}} | ||
| B1 = Pink Apricorn | | B1 = {{ItemSlot| item = Pink Apricorn | link = Pink Apricorn}} | ||
| B2 = Diamond | | B2 = {{ItemSlot| item = Diamond | link = minecraftwiki:Diamond}} | ||
| B3 = Pink Apricorn | | B3 = {{ItemSlot| item = Pink Apricorn | link = Pink Apricorn}} | ||
| C2 = Blue Apricorn | | C2 = {{ItemSlot| item = Blue Apricorn | link = Blue Apricorn}} | ||
| output = Dream Ball | | | output = {{ItemSlot| item = Dream Ball | amount = 4}} | ||
}} | }} | ||
| Line 880: | Line 894: | ||
A Beast Ball is a fourth tier Poké Ball. | A Beast Ball is a fourth tier Poké Ball. | ||
Unlike first, second, or third tier Poké Balls, Beast Balls require a diamond and a specific pattern of echo shards and gold ingots to craft. | Unlike first, second, or third tier Poké Balls, Beast Balls require a [[minecraftwiki:Diamond|diamond]] and a specific pattern of [[minecraftwiki:Echo shard|echo shards]] and gold ingots to craft. | ||
Like most Poké Balls, its catch rate can change drastically under specific conditions. | Like most Poké Balls, its catch rate can change drastically under specific conditions. | ||
| Line 888: | Line 902: | ||
All other Poké Balls have a 0.1× catch rate on Ultra Beasts. | All other Poké Balls have a 0.1× catch rate on Ultra Beasts. | ||
{{CraftingInterface | {{CraftingInterface | ||
| A1 = Gold Ingot | | A1 = {{ItemSlot| item = Gold Ingot | link = minecraftwiki:Gold Ingot}} | ||
| A2 = Echo Shard | | A2 = {{ItemSlot| item = Echo Shard | link = minecraftwiki:Echo Shard}} | ||
| A3 = Gold Ingot | | A3 = {{ItemSlot| item = Gold Ingot | link = minecraftwiki:Gold Ingot}} | ||
| B1 = Echo Shard | | B1 = {{ItemSlot| item = Echo Shard | link = minecraftwiki:Echo Shard}} | ||
| B2 = Diamond | | B2 = {{ItemSlot| item = Diamond | link = minecraftwiki:Diamond}} | ||
| B3 = Echo Shard | | B3 = {{ItemSlot| item = Echo Shard | link = minecraftwiki:Echo Shard}} | ||
| C1 = Gold Ingot | | C1 = {{ItemSlot| item = Gold Ingot | link = minecraftwiki:Gold Ingot}} | ||
| C2 = Echo Shard | | C2 = {{ItemSlot| item = Echo Shard | link = minecraftwiki:Echo Shard}} | ||
| C3 = Gold Ingot | | C3 = {{ItemSlot| item = Gold Ingot | link = minecraftwiki:Gold Ingot}} | ||
| output = Beast Ball | | | output = {{ItemSlot| item = Beast Ball | amount = 8}} | ||
}} | }} | ||
| Line 911: | Line 925: | ||
A Master Ball is the highest tier of Poké Ball. | A Master Ball is the highest tier of Poké Ball. | ||
Unlike the other tiers of Poké Balls, Master Balls require a nether star and a specific pattern of shulker shells and netherite ingots to craft. | Unlike the other tiers of Poké Balls, Master Balls require a [[minecraftwiki:Nether Star|nether star]] and a specific pattern of [[minecraftwiki:Shulker Shell|shulker shells]] and [[minecraftwiki:Netherite Ingot|netherite ingots]] to craft. | ||
It functions as the final upgrade to the Poké Ball, as it has a higher static catch rate. | It functions as the final upgrade to the Poké Ball, as it has a higher static catch rate. | ||
| Line 919: | Line 933: | ||
Due to it being crafted with Netherite, the Master Ball will not burn in fire or lava. | Due to it being crafted with Netherite, the Master Ball will not burn in fire or lava. | ||
{{CraftingInterface | {{CraftingInterface | ||
| A2 = Shulker Shell | | A2 = {{ItemSlot| item = Shulker Shell | link = minecraftwiki:Shulker Shell}} | ||
| B1 = Netherite Ingot | | B1 = {{ItemSlot| item = Netherite Ingot | link = minecraftwiki:Netherite Ingot}} | ||
| B2 = Nether Star | | B2 = {{ItemSlot| item = Nether Star | link = minecraftwiki:Nether Star}} | ||
| B3 = Netherite Ingot | | B3 = {{ItemSlot| item = Netherite Ingot | link = minecraftwiki:Netherite Ingot}} | ||
| C2 = Shulker Shell | | C2 = {{ItemSlot| item = Shulker Shell | link = minecraftwiki:Shulker Shell}} | ||
| output = Master Ball | | output = {{ItemSlot| item = Master Ball }} | ||
}} | }} | ||
| Line 943: | Line 957: | ||
If using commands or if obtained via Creative Mode, it has a static catch rate of 1×. | If using commands or if obtained via Creative Mode, it has a static catch rate of 1×. | ||
===Strange Ball=== | |||
{{InfoboxItem | |||
| title = Strange Ball | |||
| image = Strange Ball (model).png | |||
| image2 = Strange Ball (model, open).png | |||
}} | |||
A Strange Ball is an untiered Poké Ball. | |||
Unlike other Poké Balls, the Strange Ball is not craftable or obtainable in any way. Its only purpose is to act as a placeholder for datapacks or errors, replacing a custom Poké Ball's model if it does not exist. Due to this, it also does not have an inventory icon, solely existing as a model. | |||
==History== | |||
{{HistoryTable|rows= | |||
{{HistoryRow|version=1.0.0|changes= | |||
{{ScaledImage|Poke Ball (model).png|32px}} {{ScaledImage|Citrine Ball (model).png|32px}} {{ScaledImage|Verdant Ball (model).png|32px}} {{ScaledImage|Azure Ball (model).png|32px}} {{ScaledImage|Roseate Ball (model).png|32px}} {{ScaledImage|Slate Ball (model).png|32px}} {{ScaledImage|Premier Ball (model).png|32px}} {{ScaledImage|Great Ball (model).png|32px}} {{ScaledImage|Ultra Ball (model).png|32px}} {{ScaledImage|Safari Ball (model).png|32px}} {{ScaledImage|Fast Ball (model).png|32px}} {{ScaledImage|Level Ball (model).png|32px}} {{ScaledImage|Lure Ball (model).png|32px}} {{ScaledImage|Heavy Ball (model).png|32px}} {{ScaledImage|Love Ball (model).png|32px}} {{ScaledImage|Friend Ball (model).png|32px}} {{ScaledImage|Moon Ball (model).png|32px}} {{ScaledImage|Sport Ball (model).png|32px}} {{ScaledImage|Park Ball (model).png|32px}} {{ScaledImage|Net Ball (model).png|32px}} {{ScaledImage|Dive Ball (model).png|32px}} {{ScaledImage|Nest Ball (model).png|32px}} {{ScaledImage|Repeat Ball (model).png|32px}} {{ScaledImage|Timer Ball (model).png|32px}} {{ScaledImage|Luxury Ball (model).png|32px}} {{ScaledImage|Dusk Ball (model).png|32px}} {{ScaledImage|Heal Ball (model).png|32px}} {{ScaledImage|Quick Ball (model).png|32px}} {{ScaledImage|Dream Ball (model).png|32px}} {{ScaledImage|Beast Ball (model).png|32px}} {{ScaledImage|Master Ball (model).png|32px}} {{ScaledImage|Cherish Ball (model).png|32px}} {{ScaledImage|Strange Ball (model).png|32px}} Added Pokeballs. | |||
}} | |||
{{HistoryRow|version=1.1.0|changes=Slightly polished the Poké Ball opening and Poké Ball item use sounds.}} | |||
{{HistoryRow|version=1.2.0|changes=Fixed dropped item forms.}} | |||
{{HistoryRow|version=1.3.0|changes= | |||
{{-}} | |||
*Added new models and animations and reworked the mechanics to feel much smoother instead of being pure frustration. | |||
*Fixed not all Poké Balls being associated with the cobblemon:pokeballs item tag. | |||
*Significantly sped up the shake animation so it takes less time to try to catch Pokémon. | |||
*Fixed Poké Balls taking forever to capture Pokémon if you are underwater or up in the air where it takes a long time to hit the ground. | |||
*Fixed positioning when rendered in Healing Machines. | |||
*Name Tags will no longer be used on Poke Ball entities, this prevents the item from being wasted. | |||
}} | |||
{{HistoryRow|version=1.4.0|changes= | |||
{{-}} | |||
*Thrown Poké Balls now despawn after 30 seconds so that they don't fly forever. | |||
*Dive Balls will now have the same motion speed underwater as if they were thrown in the air. | |||
*Updated Sounds. | |||
*Master Balls are now unable to be burned when dropped into fire/lava. They're made from stronger stuff. | |||
*Fixed the close animation canceling whenever colliding with a block. | |||
*Fixed capture calculations not applying ball bonuses entirely correctly. | |||
}} | |||
{{HistoryRow|version=1.4.1|changes=Updated the Poké Ball model and animations.}} | |||
{{HistoryRow|version=1.5.0|changes= | |||
{{-}} | |||
*Poké Ball recipes now use tags for their center ingredient, rather than specifically Copper Ingots, Iron Ingots, Gold Ingots, and Diamonds, allowing for further datapack customisation and mod compatibility. | |||
*Fixed the bounce animation being delayed by like, a full second. It's enough to drive you mad. | |||
*Fixed Poké Balls freezing in an open state if you're looking away at the moment that it's meant to close. | |||
*Fixed thrown Poké Balls technically having no name. | |||
}} | |||
{{HistoryRow|version=1.5.1|changes= | |||
{{-}} | |||
*Added unique send out particles for Cherish, Dream and Beast Ball. | |||
*Fixed a bug in which throwing a Poké Ball at a player owned Pokémon with the ability Illusion would reveal its true species. | |||
}} | |||
{{HistoryRow|version=1.6.0|changes= | |||
{{-}} | |||
*Added new sounds for Poké Balls bouncing off of Pokémon and landing on the ground during capture. | |||
*Added revamped Poké Ball animation for Pokémon breaking out. | |||
*Buffed Dusk Ball catch multipliers: Increased multiplier to 3.5 (from 3.0) in light level 0. Increased multiplier to 3.0 (from 1.5) in light levels 1-7. | |||
*Updated sounds for Poké Balls closing, opening and for Pokémon breaking out. | |||
*Fixed the sendout sound erroneously playing when a wild Pokémon breaks out of a Poké ball. | |||
*Fixed owned Poké balls floating upwards if pausing the game mid-transition. | |||
*Fixed Poké Ball render orientation in battle interface when capturing. | |||
*Fixed illusion not copying aspects or caught ball. | |||
}} | |||
{{HistoryRow|version=1.6.1|changes= | |||
{{-}} | |||
*Fixed Pokémon being collidable while being captured by a Poké Ball. | |||
*Fixed Fast Ball capture bonuses applying to all Pokémon. | |||
}} | |||
{{HistoryRow|version=1.7.0|changes= | |||
{{-}} | |||
*Updated `NPCEntity` pokeball throw positioning to properly account for the `baseScale` property. | |||
*Fixed field name in evolution requirements for Spewpa Poké Ball. | |||
*Fixed Pokémon step counts not being saved when recalling them to a Pokéball or reentering the world. | |||
*Fixed Moon Ball moon phase logic not actually working. | |||
*Changed the recipes for Level, Lure, and Moon Balls to be cleaner. | |||
*Grouped together the pokeball recipe's | |||
*Added Molang Callbacks to `poke_ball_capture_calculated` | |||
}} | |||
}} | |||
{{Items}} | {{Items}} | ||
Latest revision as of 00:31, 10 January 2026
A Poké Ball is a tool used for catching and storing caught Pokémon.
There are 48 variants of Poké Balls, 46 of which are obtainable via crafting.
16 of these variants are classified as "Ancient," as they require tumblestones to craft. Those variants can be found here.
Obtaining
Crafting
As of Cobblemon version 1.6, all Poké Balls aside from Net Balls, Dive Balls and Lure Balls must be crafted as there is no other way to obtain them. New villager professions will potentially sell Poké Balls and new structures may contain Poké Balls and other related items in future updates.
The Cherish Ball and Ancient Origin Ball are currently unobtainable in survival gameplay and can only be obtained through Creative Mode or commands. They can freely be used for any purpose, such as for event distributions on servers.
Gilded Chest Loot
Net Balls, Dive Balls and Lure Balls can all be obtained via Mini Dungeon structures, specifically the Shipwreck Cove structure.
Usage
Catching Pokémon
Poké Balls are one of the most important tools in Cobblemon. Other Pokémon cannot be obtained without them (Aside from the chosen initial starter).
In order to catch Pokémon in a Poké Ball, the Poké Ball must first be equipped in a player's hand by selecting it in the hotbar. The Poké Ball can then be thrown at a Pokémon for a chance at capture. If a Poké Ball misses a Pokémon, the thrown ball will drop on the ground as an item and can be recovered.
During battles, selecting the Catch button does not automatically start the catching process. Instead, the player must manually equip a Poké Ball, aim, and throw it themselves.
Each of the 48 variations of Poké Ball have their own catch rates; an assigned value and a possible mechanic that changes the capture chance when thrown at a Pokémon.
If the catch fails, the Pokémon will break out of the ball and the thrown Poké Ball cannot be recovered. If the catch is successful, the Pokémon will be added to the party or be sent to the PC.
Each variation of Poké Ball will display as an icon in the party menu and PC. These icons are purely aesthetic and have no special features.
Smithing
Poké Ball Types
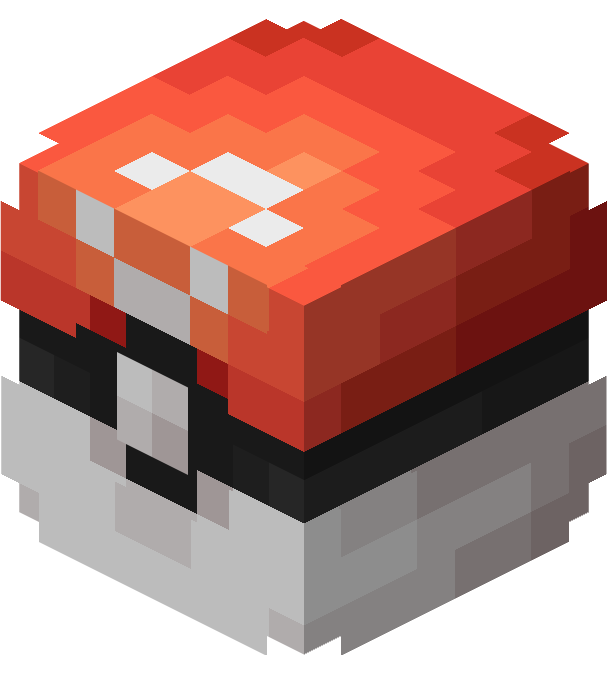
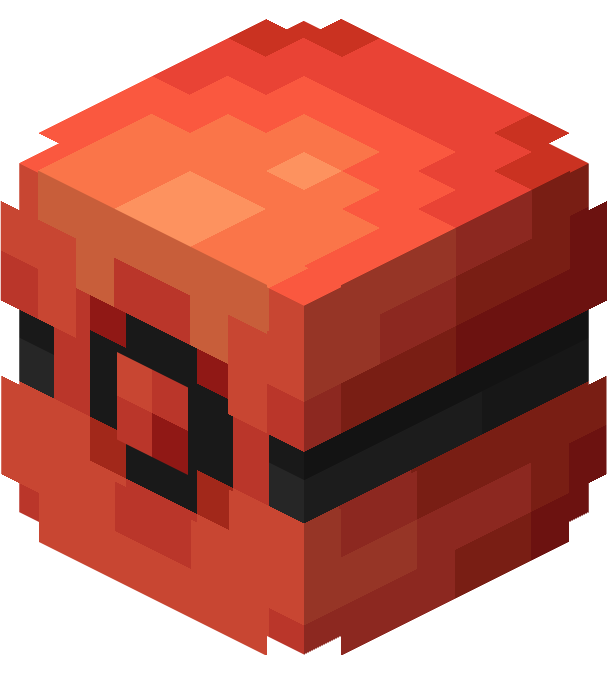
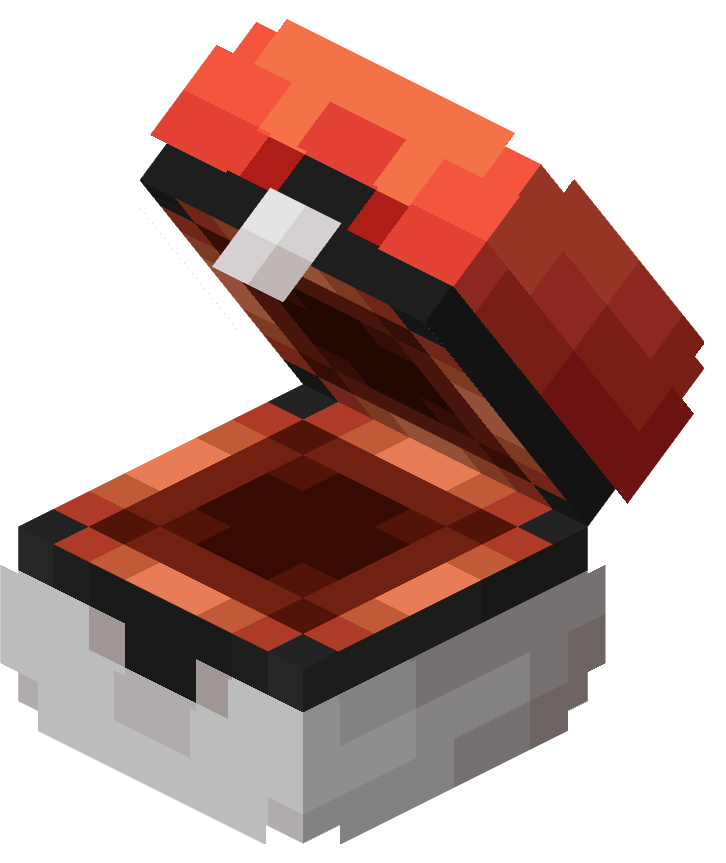
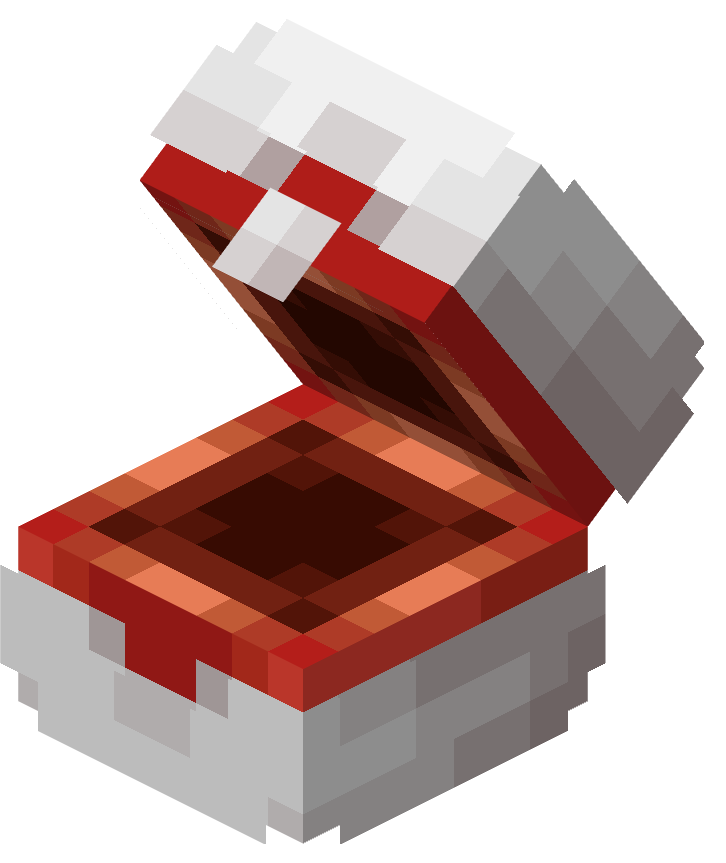
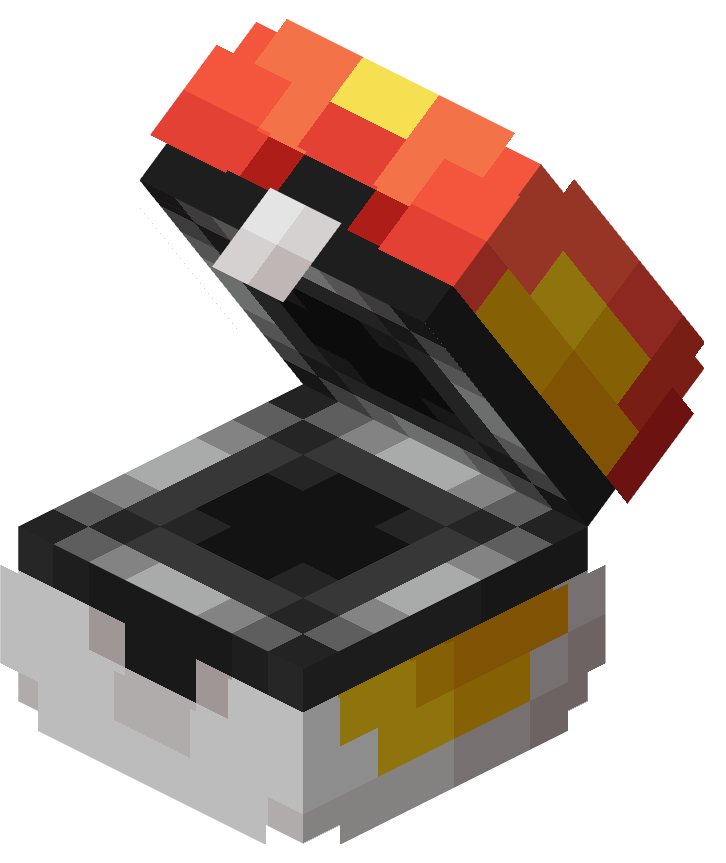
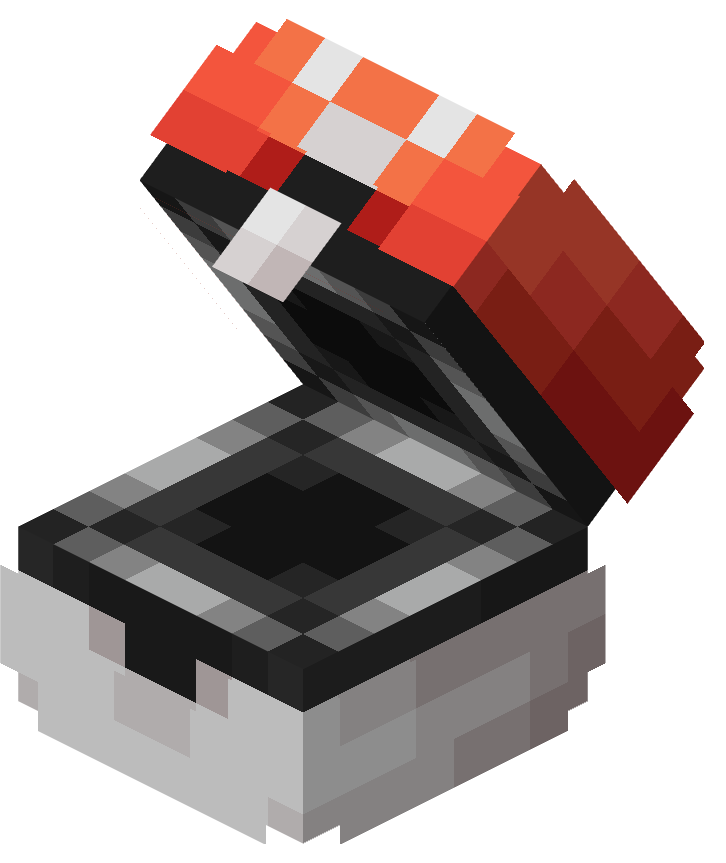
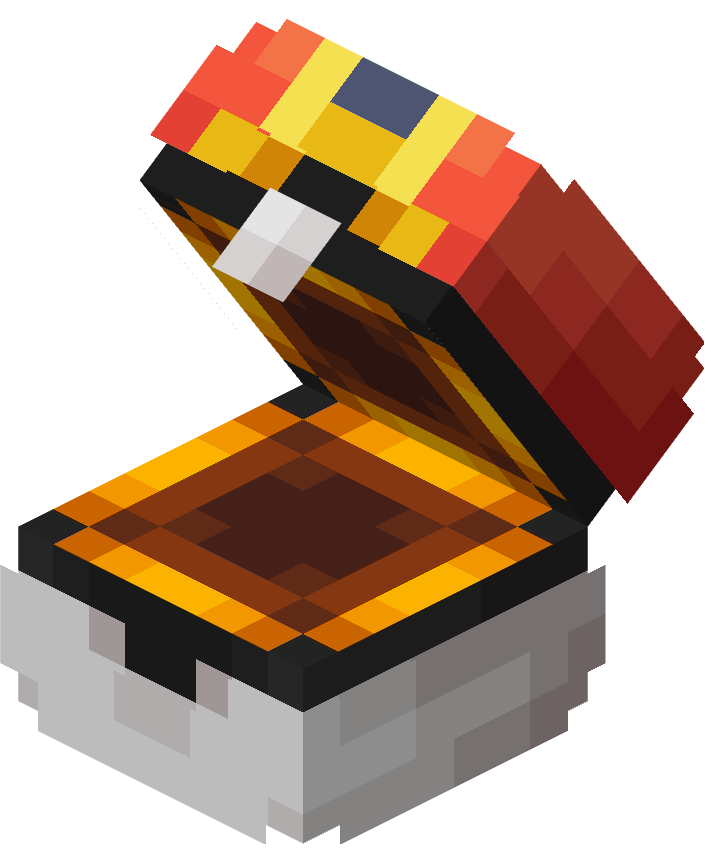
Poké Ball
A Poké Ball is one of the 7 basic Poké Balls needed for the A Full Palette advancement.
As with the other 6 basic Poké Balls, it is relatively easy to make, requiring 4 red apricorns and a copper ingot to craft.
While Poké Ball can be a general term to refer to a Poké Ball of any kind, Poké Ball can also refer to this ball type specifically.
It has a static catch rate of 1×.
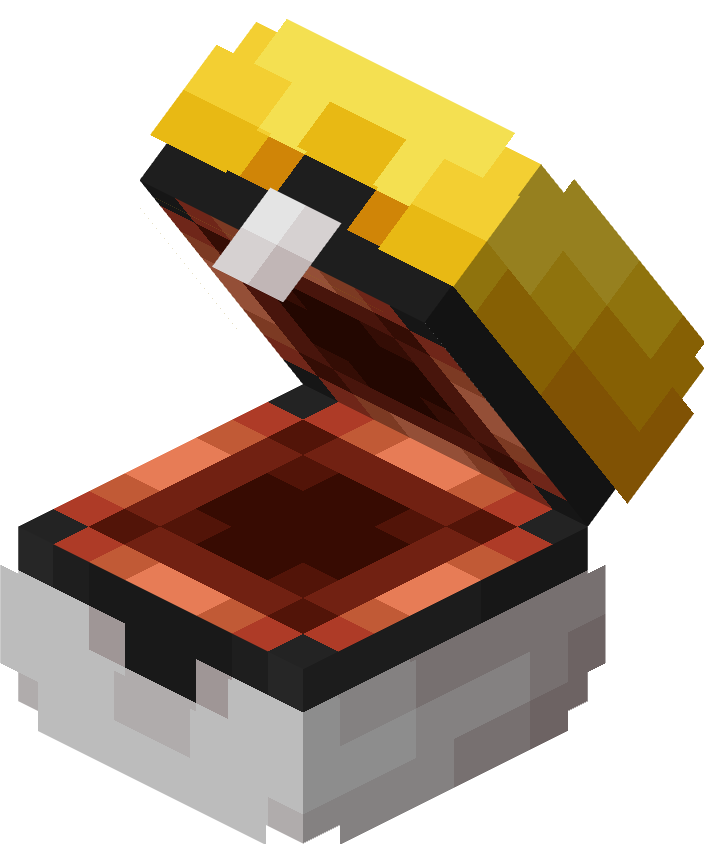
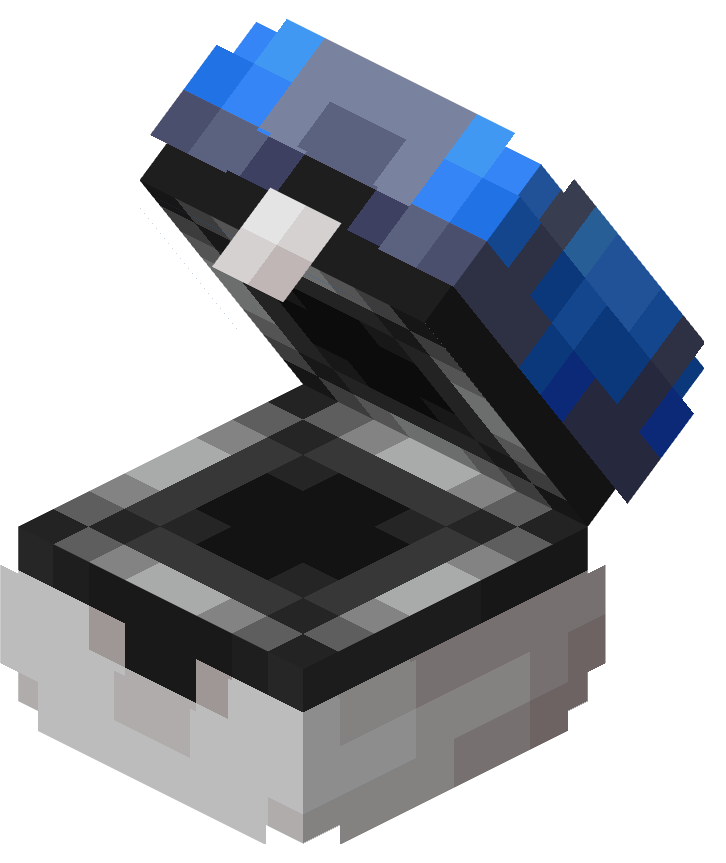
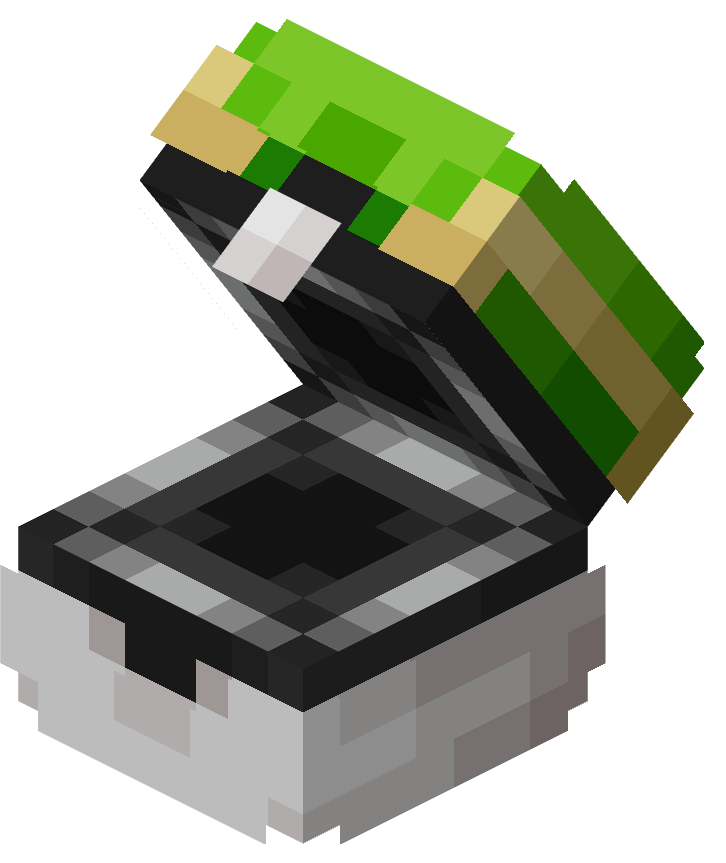
Citrine Ball
A Citrine Ball is one of the 7 basic Poké Balls needed for the A Full Palette advancement.
As with the other 6 basic Poké Balls, it is relatively easy to make, requiring 4 yellow apricorns and a copper ingot to craft.
It is one of the 5 original Poké Balls created for Cobblemon.
It has a static catch rate of 1×.
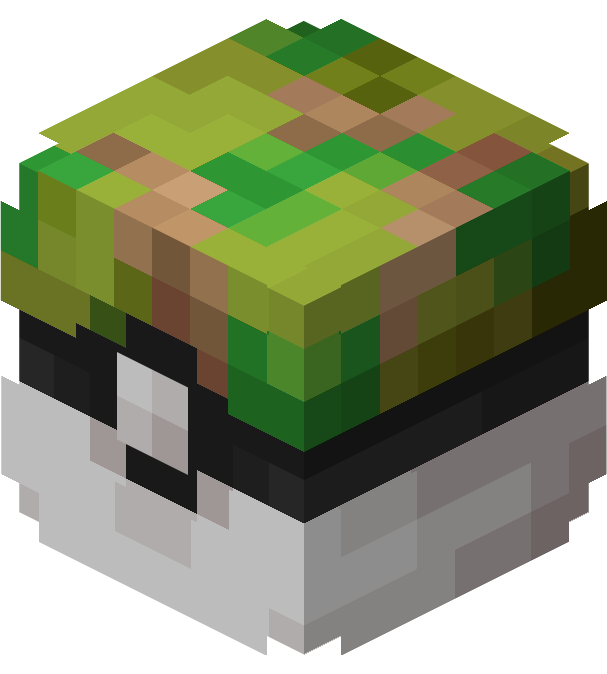
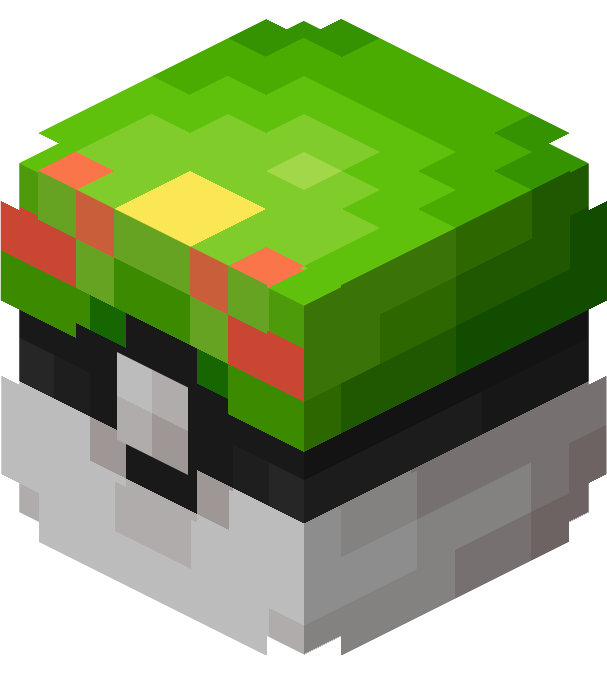
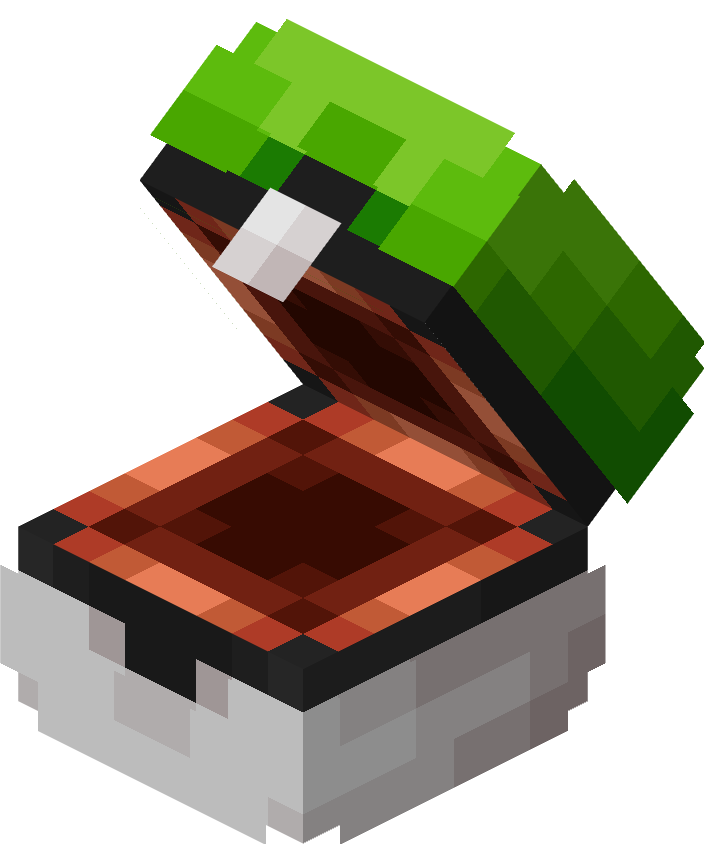
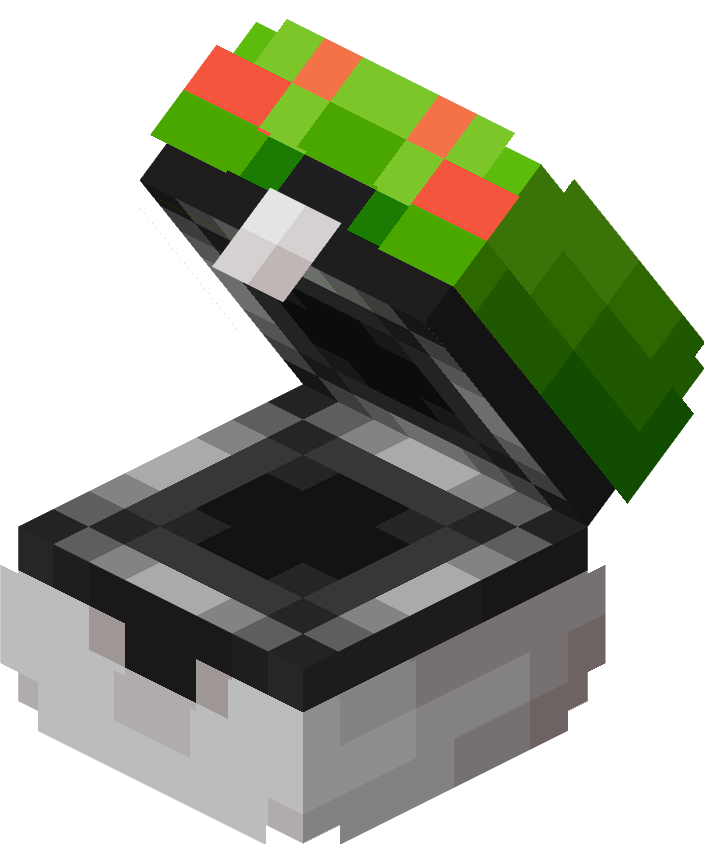
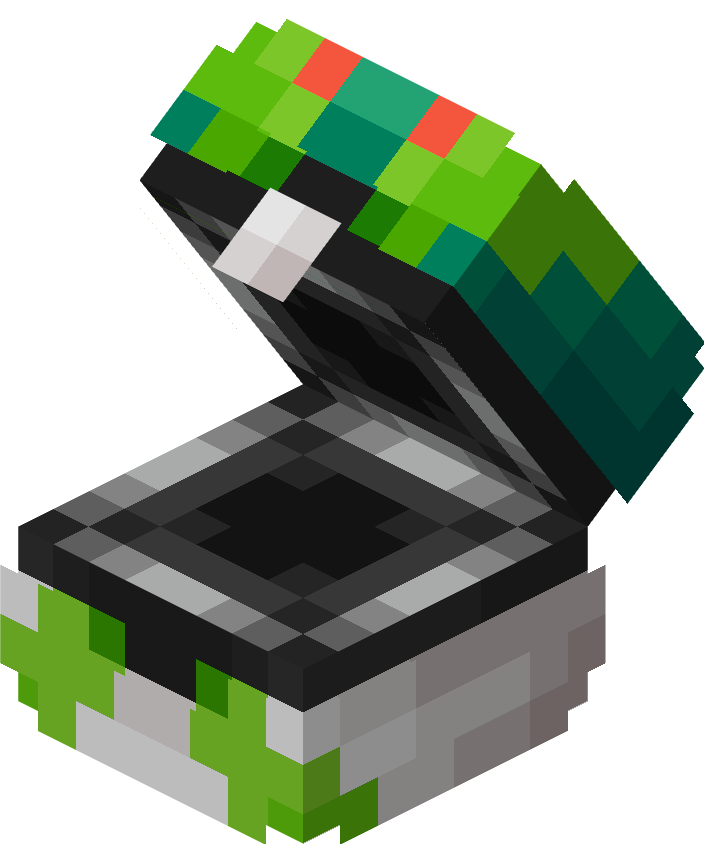
Verdant Ball
A Verdant Ball is one of the 7 basic Poké Balls needed for the A Full Palette advancement.
As with the other 6 basic Poké Balls, it is relatively easy to make, requiring 4 green apricorns and a copper ingot to craft.
It is one of the 5 original Poké Balls created for Cobblemon.
It has a static catch rate of 1×.
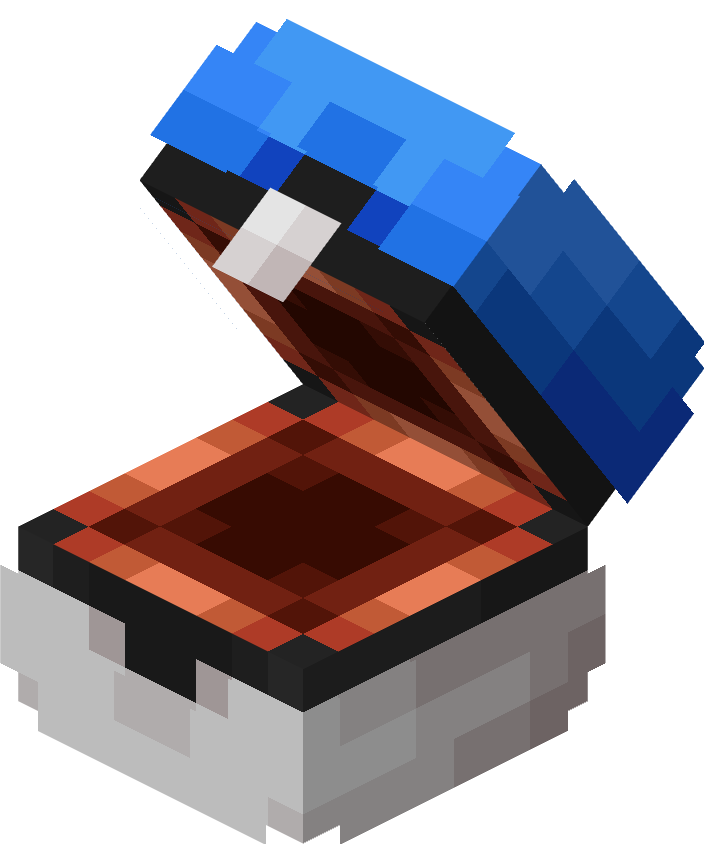
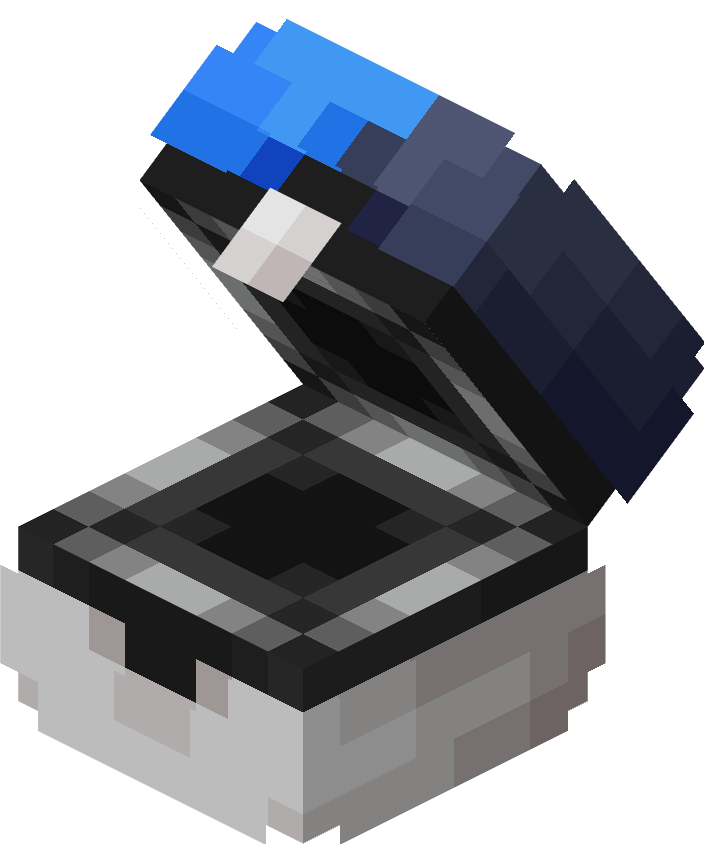
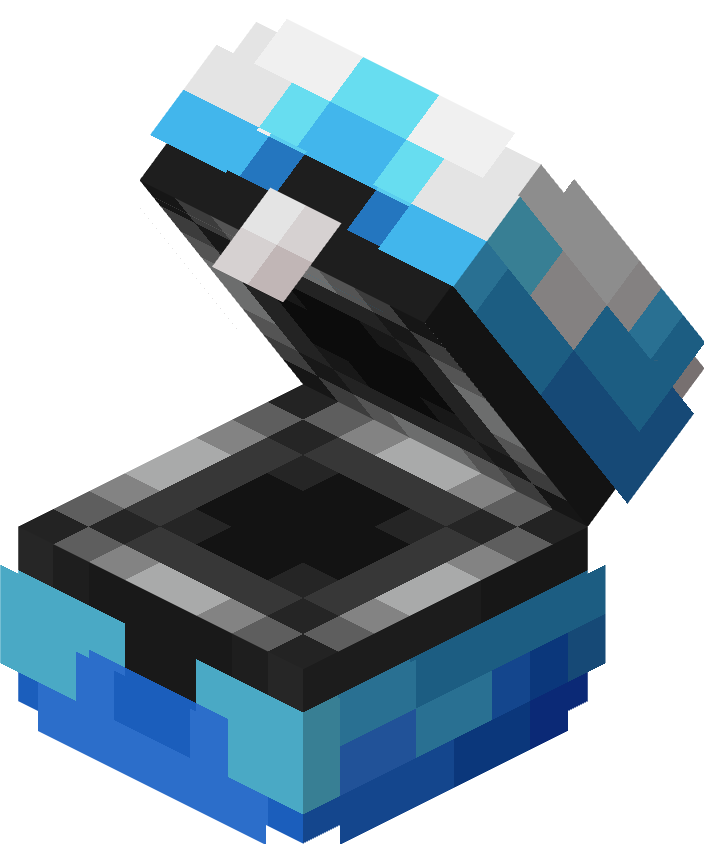
Azure Ball
An Azure Ball is one of the 7 basic Poké Balls needed for the A Full Palette advancement.
As with the other 6 basic Poké Balls, it is relatively easy to make, requiring 4 blue apricorns and a copper ingot to craft.
It is one of the 5 original Poké Balls created for Cobblemon.
It has a static catch rate of 1×.
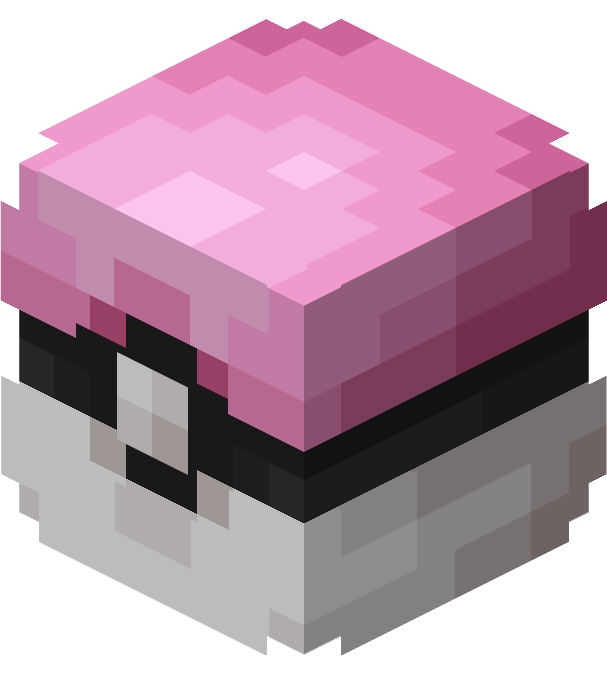
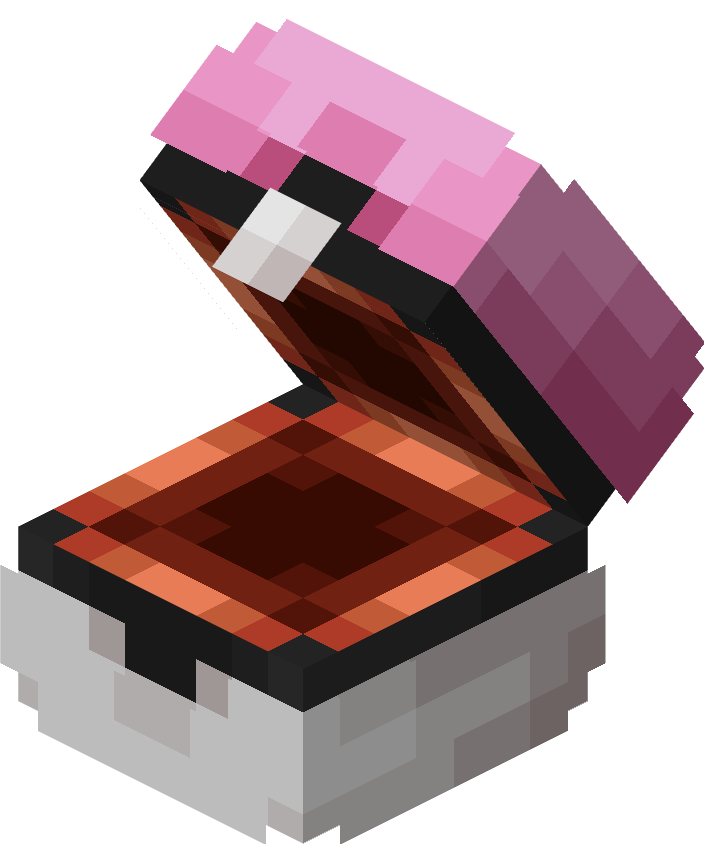
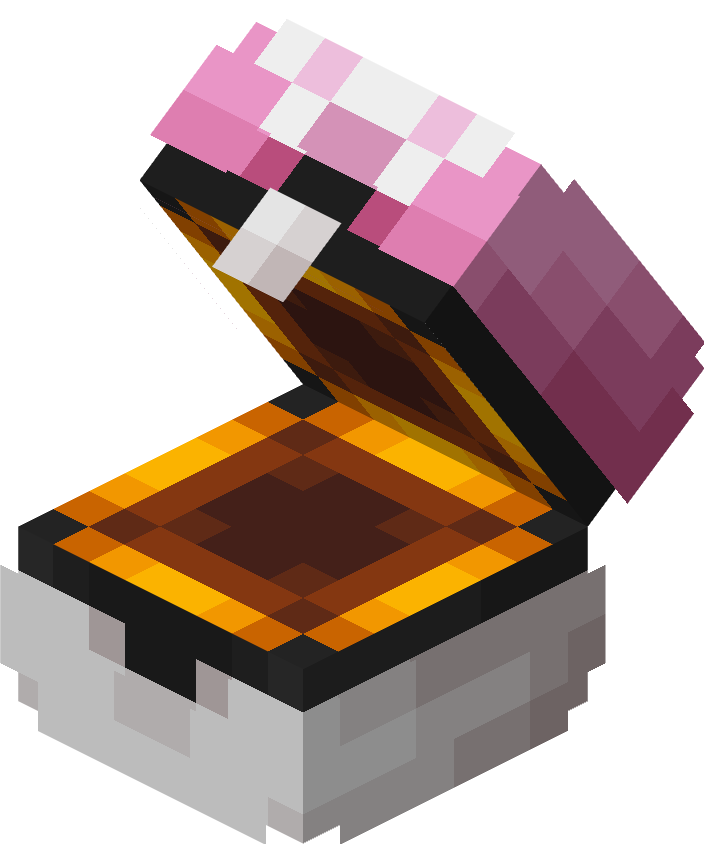
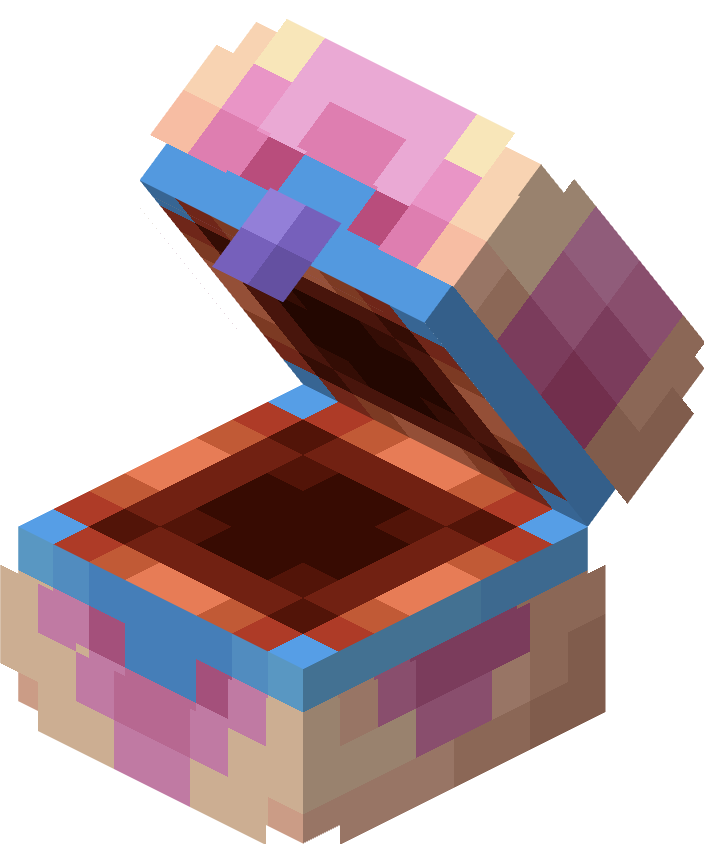
Roseate Ball
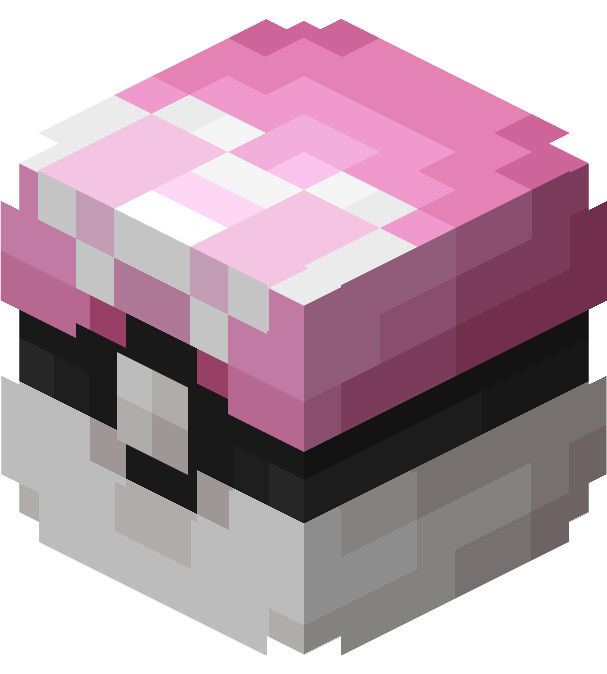
A Roseate Ball is one of the 7 basic Poké Balls needed for the A Full Palette advancement.
As with the other 6 basic Poké Balls, it is relatively easy to make, requiring 4 pink apricorns and a copper ingot to craft.
It is one of the 5 original Poké Balls created for Cobblemon.
It has a static catch rate of 1×.
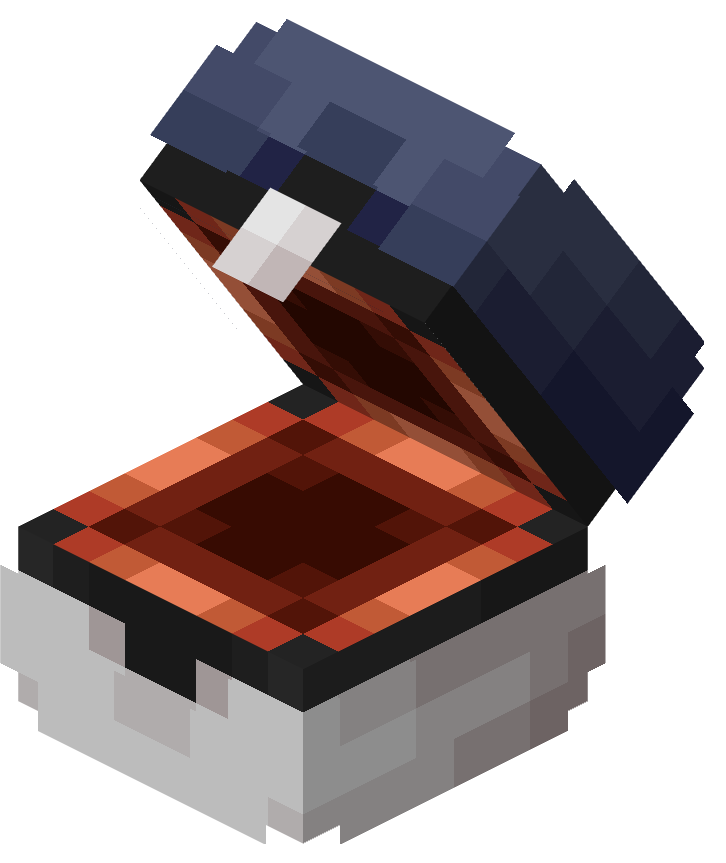
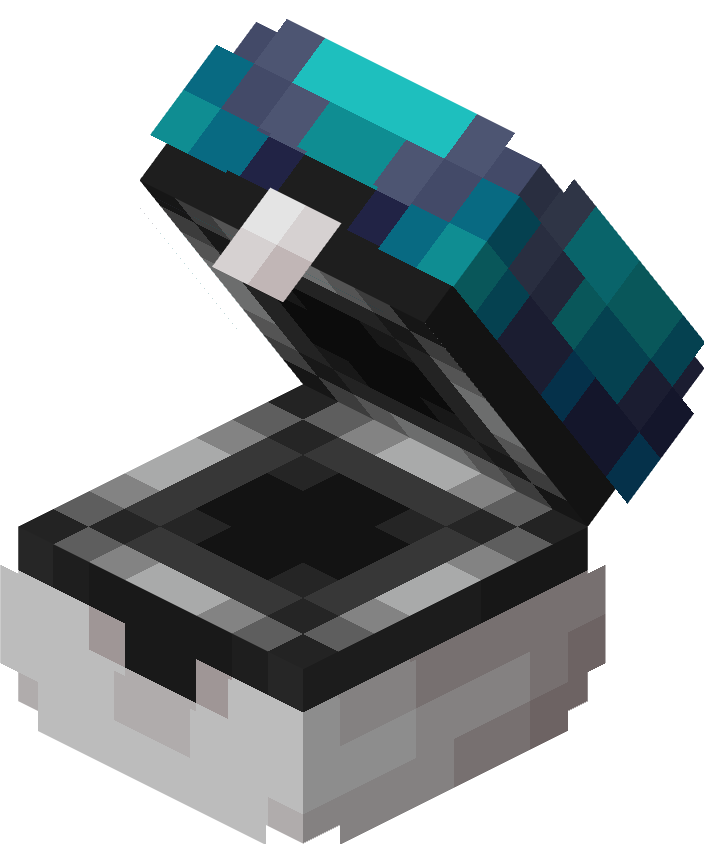
Slate Ball
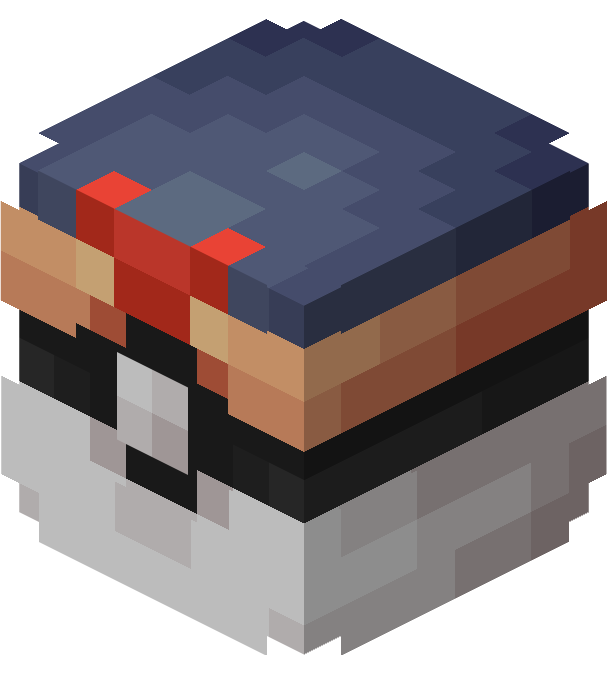
A Slate Ball is one of the 7 basic Poké Balls needed for the A Full Palette advancement.
As with the other 6 basic Poké Balls, it is relatively easy to make, requiring 4 black apricorns and a copper ingot to craft.
It is one of the 5 original Poké Balls created for Cobblemon.
It has a static catch rate of 1×.
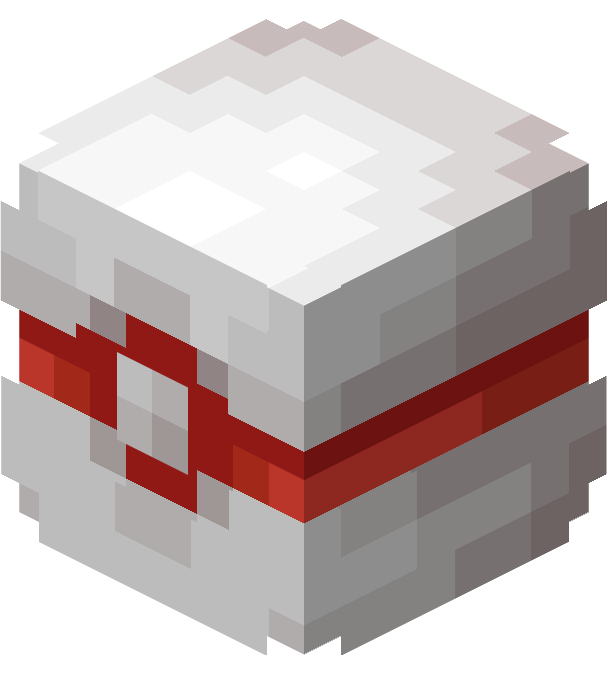
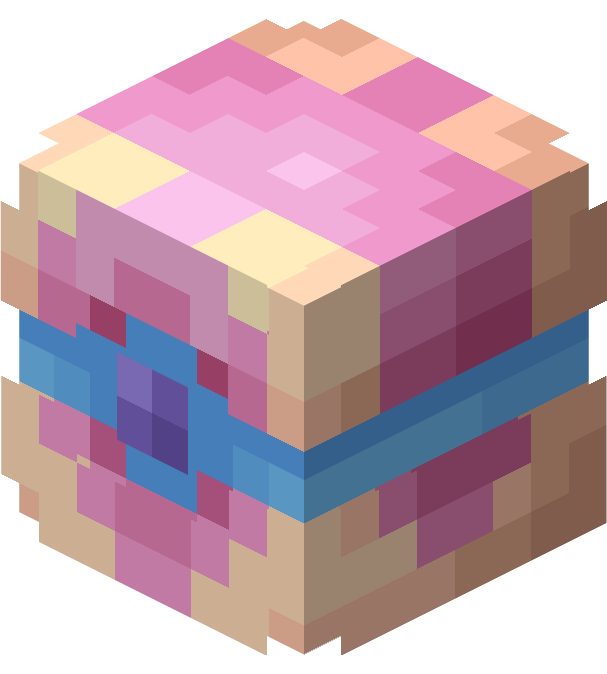
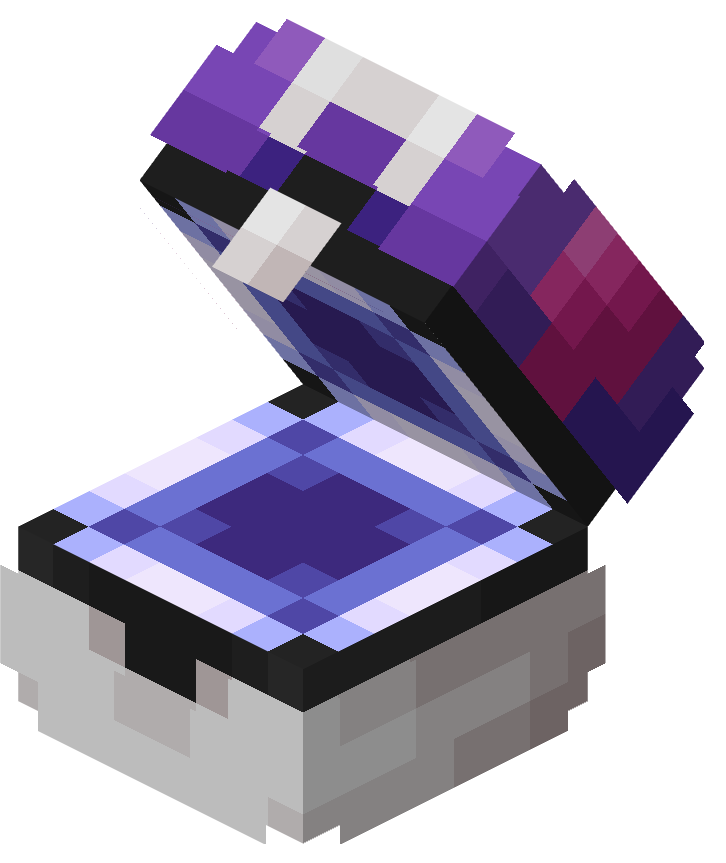
Premier Ball
A Premier Ball is one of the 7 basic Poké Balls needed for the A Full Palette advancement.
As with the other 6 basic Poké Balls, it is relatively easy to make, requiring 4 white apricorns and a copper ingot to craft.
Conversely to its original appearance in the Pokémon games, where Premier Balls were only obtainable by purchasing 10 other Poké Balls at shops, Premier Balls are easily craftable in Cobblemon.
It has a static catch rate of 1×.
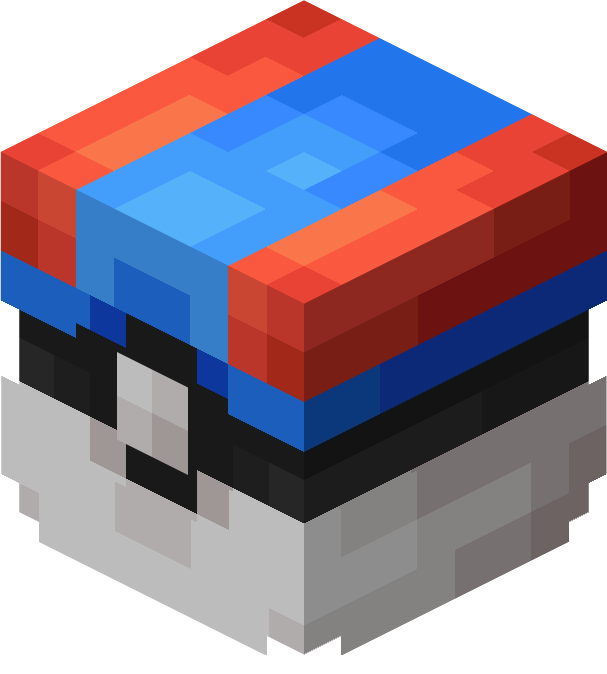
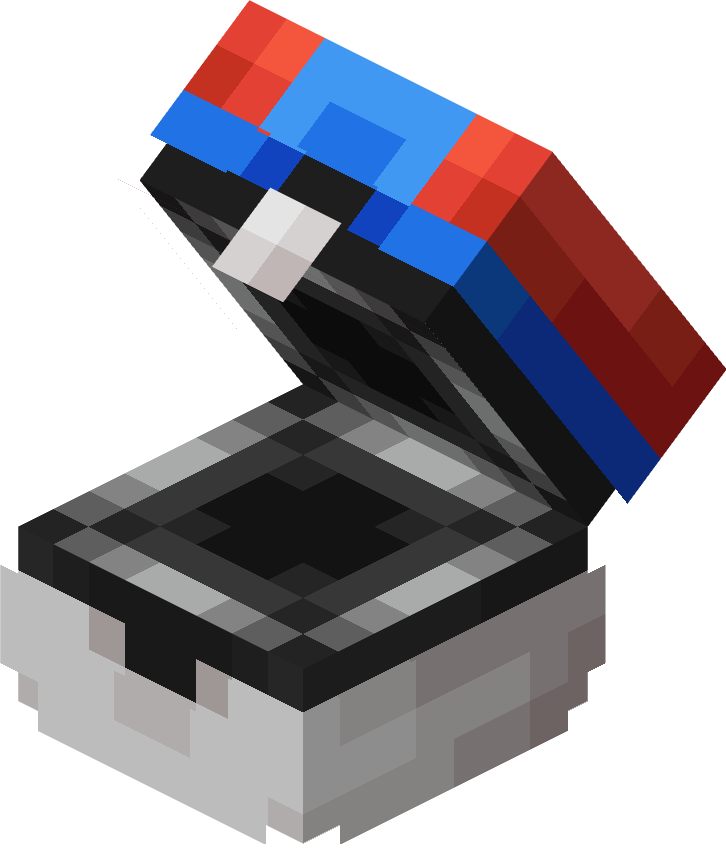
Great Ball
A Great Ball is a second tier Poké Ball.
Unlike first tier Poké Balls, Great Balls require an iron ingot and a specific pattern of multi-colored apricorns to craft.
It functions as a direct upgrade to the Poké Ball, as it has a higher static catch rate.
It has a static catch rate of 1.5×.
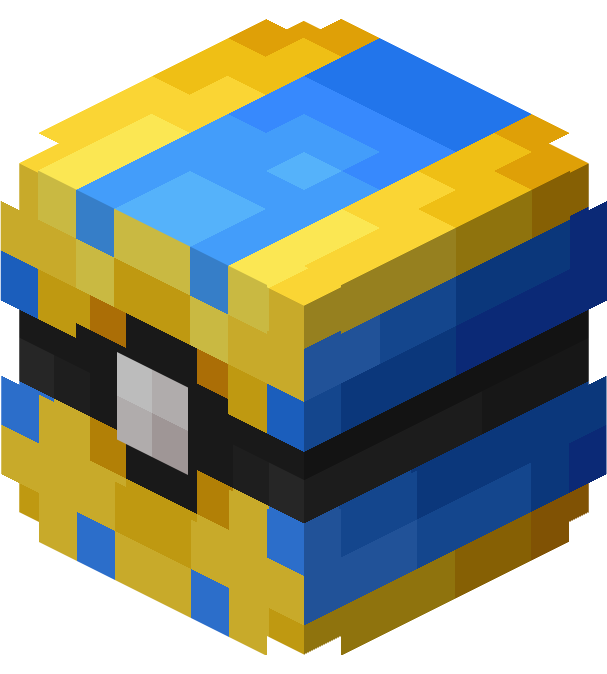
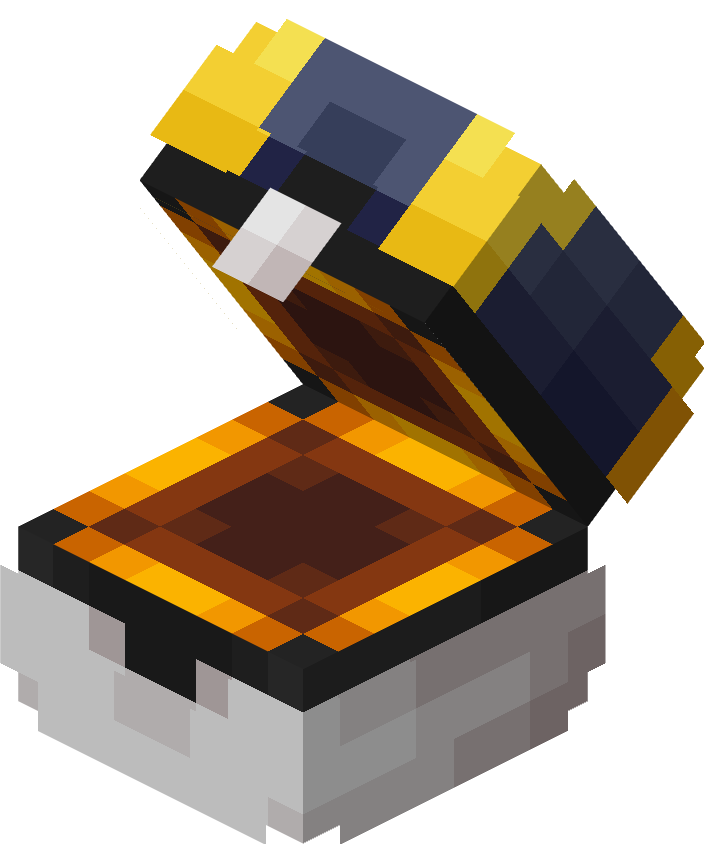
Ultra Ball
An Ultra Ball is a third tier Poké Ball.
Unlike first and second tier Poké Balls, Ultra Balls require a gold ingot and a specific pattern of multi-colored apricorns to craft.
It functions as a direct upgrade to the Great Ball, as it has a higher static catch rate.
It has a static catch rate of 2×.
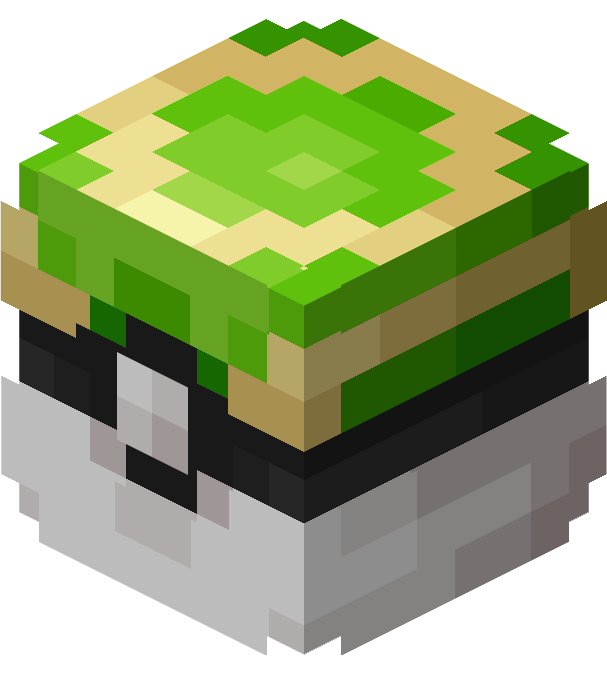
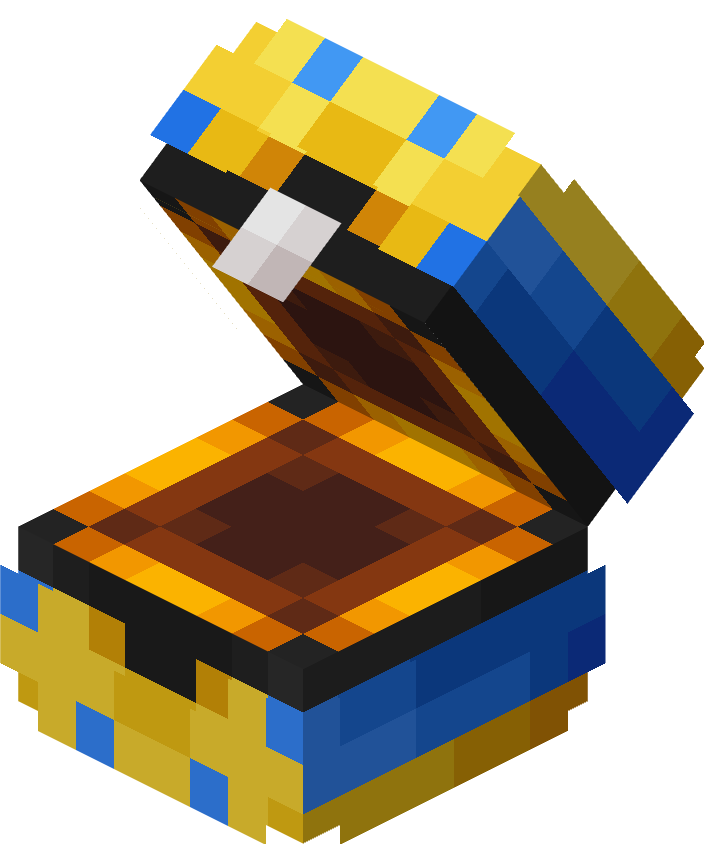
Safari Ball
A Safari Ball is a first tier Poké Ball.
Unlike the basic Poké Balls, Safari Balls requires a specific pattern of multi-colored apricorns to craft.
Like most Poké Balls, its catch rate can change drastically under specific conditions.
It has a catch rate of 1.5× when used on a Pokémon outside of battle.
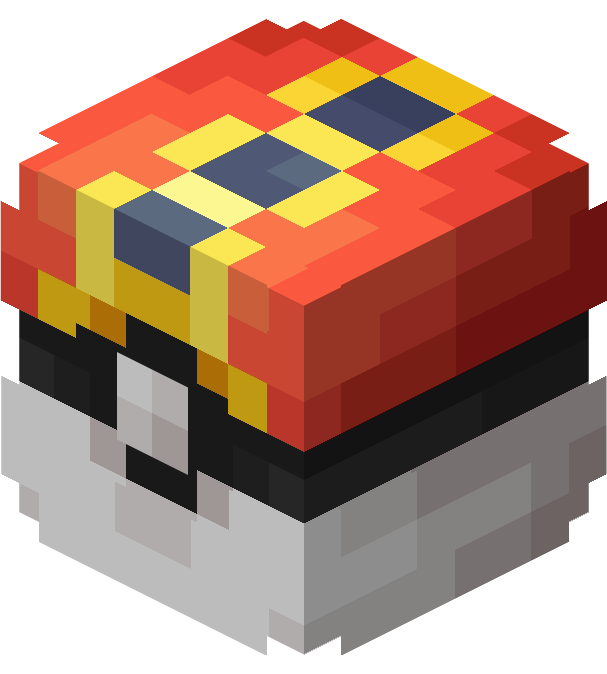
Fast Ball
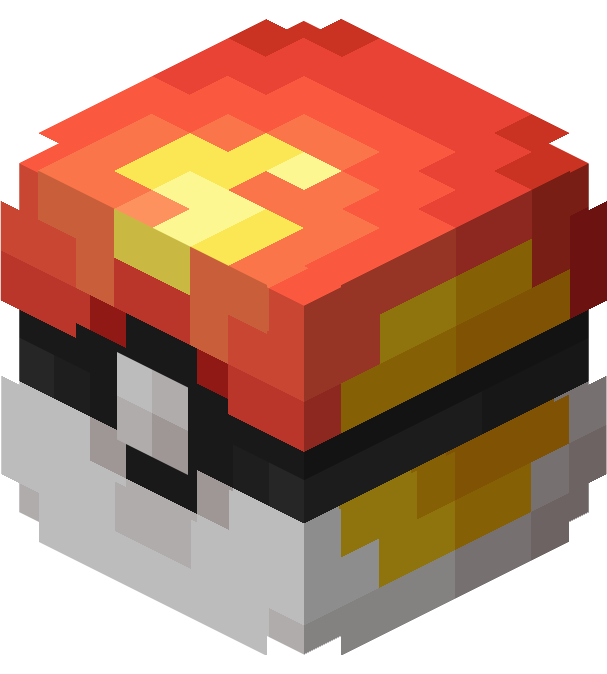
A Fast Ball is one of the 7 apricorns Poké Balls needed for the Kurt would be Proud advancement.
Unlike first tier Poké Balls, Fast Balls require an iron ingot and a specific pattern of multi-colored apricorns to craft.
Like most Poké Balls, its catch rate can change drastically under specific conditions.
It has a catch rate of 4× when used on Pokémon with 100 or more Base Speed.
Level Ball
A Level Ball is one of the 7 apricorns Poké Balls needed for the Kurt would be Proud advancement.
Unlike first tier Poké Balls, Level Balls require an iron ingot and a specific pattern of multi-colored apricorns to craft.
Like most Poké Balls, its catch rate can change drastically under specific conditions.
It has a catch rate of anywhere from 1× to 4×. This rate increases based on how much higher the player's Pokémon level is compared to the target.
The Level Ball modifier operates as follows:
- If the highest level in the player's party is more than four times the level of the target Pokémon, the Level Ball modifier is set to 4.0.
- If the highest level is more than two times the level of the target Pokémon, the modifier becomes 3.0.
- If the highest level is greater than the level of the target Pokémon, the modifier is set to 2.0.
- If none of the above conditions are met, the Level Ball modifier defaults to 1.0.
Lure Ball
A Lure Ball is one of the 7 apricorns Poké Balls needed for the Kurt would be Proud advancement.
Unlike first tier Poké Balls, Lure Balls require an iron ingot and a specific pattern of multi-colored apricorns to craft.
Like most Poké Balls, its catch rate can change drastically under specific conditions.
The Lure Ball has a 2x catch rate on Pokémon that were caught via a Poké Rod.
Before 1.6, it has a catch rate of 2× on Water-type Pokémon.
Heavy Ball
A Heavy Ball is one of the 7 apricorns Poké Balls needed for the Kurt would be Proud advancement.
Unlike first tier Poké Balls, Heavy Balls require an iron ingot and a specific pattern of multi-colored apricorns to craft.
Like most Poké Balls, its catch rate can change drastically under specific conditions.
It has a catch rate of anywhere from 1× to 4×. This rate increases based on the weight of the target.
The Heavy Ball modifier operates as follows:
- If the Pokémon's form weight is 3000 hectograms or more, the catch rate multiplier is set to 4.0.
- If the weight falls within the range of 2000 to 2999 hectograms, the multiplier becomes 2.5.
- If the weight is between 1000 and 1999 hectograms, the catch rate modifier is set to 1.5.
- If the Pokémon's form weight is below 1000 hectograms, the catch rate remains unchanged at 1.0.
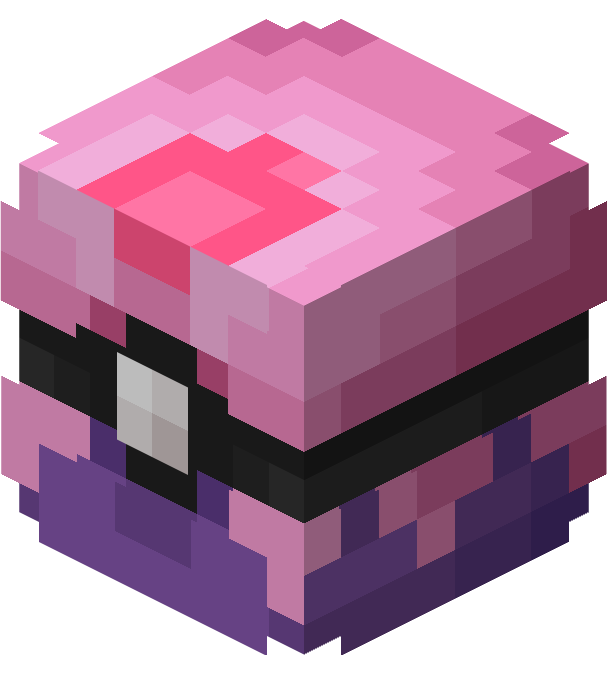
Love Ball
A Love Ball is one of the 7 apricorns Poké Balls needed for the Kurt would be Proud advancement.
Unlike first and second tier Poké Balls, Love Balls require a gold ingot and a specific pattern of multi-colored apricorns to craft.
Like most Poké Balls, its catch rate can change drastically under specific conditions.
It has a catch rate of 8× if the target is the opposite gender and the same species as one of the player's Pokémon. Otherwise, it has a 1× catch rate.
Friend Ball
A Friend Ball is one of the 7 apricorns Poké Balls needed for the Kurt would be Proud advancement.
Unlike first tier Poké Balls, Friend Balls requires an iron ingot and a specific pattern of multi-colored apricorns to craft.
It has a catch rate of 1×. Pokémon caught in a Friend Ball will start with 150 Friendship.
Moon Ball
A Moon Ball is one of the 7 apricorns Poké Balls needed for the Kurt would be Proud advancement.
Unlike first tier Poké Balls, Moon Balls require an iron ingot and a specific pattern of multi-colored apricorns to craft.
Like most Poké Balls, its catch rate can change drastically under specific conditions.
It has a catch rate of anywhere from 1× to 4×. This rate increases based on how close the phase of the moon is to being full, and is only active at night.
Sport Ball
A Sport Ball is a second tier Poké Ball.
Unlike first tier Poké Balls, Sport Balls require an iron ingot and a specific pattern of multi-colored apricorns to craft.
It has a static catch rate of 1.5×.
Its catch rate and function is subject to change in future updates.
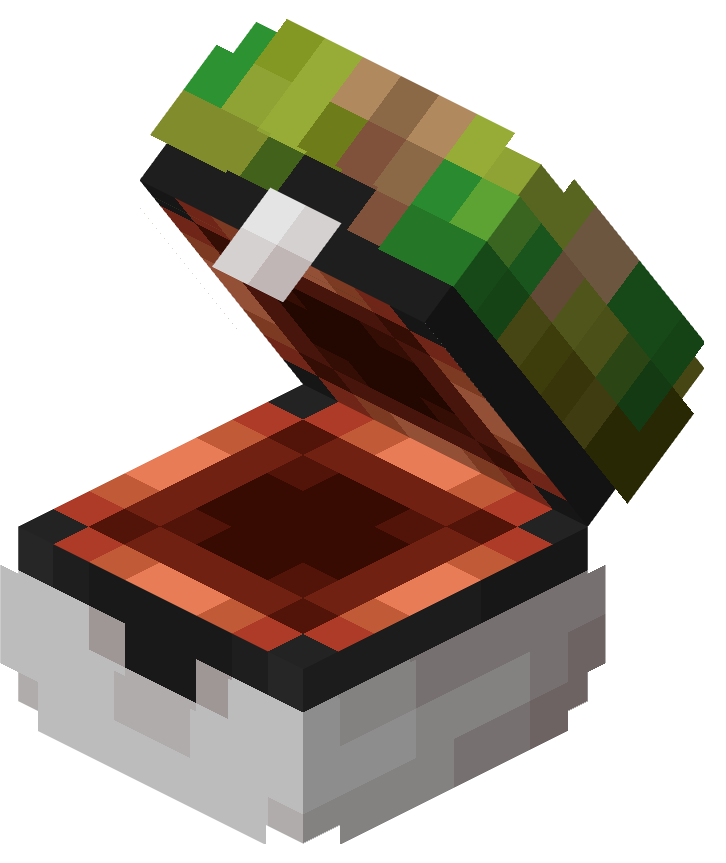
Park Ball
A Park Ball is a second tier Poké Ball.
Unlike first tier Poké Balls, Park Balls require an iron ingot and a specific pattern of multi-colored apricorns to craft.
Its design and functionality was inspired by the Park Ball that appeared in episode 161 of the Pokémon anime series, rather than the unobtainable Park Ball that was introduced in the Generation IV game series.
Like most Poké Balls, its catch rate can change drastically under specific conditions.
It has a catch rate of 2.5× when used on a Pokémon inside a Forest or Plains biome.
Net Ball
A Net Ball is a second tier Poké Ball.
Unlike first tier Poké Balls, Net Balls require an iron ingot and a specific pattern of multi-colored apricorns to craft.
Like most Poké Balls, its catch rate can change drastically under specific conditions.
It has a catch rate of 3× when used on Bug-type or Water-type Pokémon.
Dive Ball
A Dive Ball is a second tier Poké Ball.
Unlike first tier Poké Balls, Dive Balls require an iron ingot and a specific pattern of multi-colored apricorns to craft.
Like most Poké Balls, its catch rate can change drastically under specific conditions.
It has a catch rate of 3.5× when used on Pokémon submerged underwater.
Unlike all other Poké Balls, the Dive Ball is unaffected by underwater drag. This means it moves underwater in the same way that it moves above water.
Nest Ball
A Nest Ball is a second tier Poké Ball.
Unlike first tier Poké Balls, Nest Balls require an iron ingot and a specific pattern of multi-colored apricorns to craft.
Like most Poké Balls, its catch rate can change drastically under specific conditions.
It has a catch rate of 1× to 4×, increasing the lower the target's level is from 30.
If the target Pokémon's level is less than 30, a modifier equal to 41 - the target Pokémon's level, divided by 10 is given.
Repeat Ball
A Repeat Ball is a third tier Poké Ball.
Unlike first and second tier Poké Balls, Repeat Balls require a gold ingot and a specific pattern of multi-colored apricorns to craft.
The Repeat Ball has a 3.5x catch rate if the Pokémon has already been registered as caught in the player's Pokédex. Before 1.6, it has a static catch rate of 1×.
Timer Ball
A Timer Ball is a third tier Poké Ball.
Unlike first and second tier Poké Balls, Timer Balls require a gold ingot and a specific pattern of multi-colored apricorns to craft.
Like most Poké Balls, its catch rate can change drastically under specific conditions.
It grants a cumulative catch rate of about 0.3× per turn passed in battle, up to a maximum catch rate of 4×.
Luxury Ball
A Luxury Ball is a third tier Poké Ball.
Unlike first and second tier Poké Balls, Luxury Balls require a gold ingot and a specific pattern of multi-colored apricorns to craft.
It has a static catch rate of 1×. Pokémon caught in a Luxury Ball will gain Friendship twice as fast.
Dusk Ball
A Dusk Ball is a third tier Poké Ball.
Unlike first and second tier Poké Balls, Dusk Balls require a gold ingot and a specific pattern of multi-colored apricorns to craft.
Like most Poké Balls, its catch rate can change drastically under specific conditions.
It has a catch rate of 3.5× if the target is in light level 0 and 3× if the target is in light level 1-7.
Before 1.6, it has a catch rate of 3× if the target is in light level 0 and 1.5× if the target is in light level 1-7.
Heal Ball
A Heal Ball is a first tier Poké Ball.
Unlike the basic Poké Balls, Heal Balls require a specific pattern of multi-colored apricorns to craft.
It has a static catch rate of 1×. Pokémon caught in a Heal Ball will fully restore HP, PP, and status conditions upon capture.
Quick Ball
A Quick Ball is a third tier Poké Ball.
Unlike first and second tier Poké Balls, Quick Balls require a gold ingot and a specific pattern of multi-colored apricorns to craft.
Like most Poké Balls, its catch rate can change drastically under specific conditions.
It has a catch rate of 5× on the first turn of battle.
Dream Ball
A Dream Ball is a fourth tier Poké Ball.
Unlike first, second, or third tier Poké Balls, Dream Balls require a diamond and a specific pattern of multi-colored apricorns to craft.
Like most Poké Balls, its catch rate can change drastically under specific conditions.
It has a catch rate of 4× on sleeping Pokémon.
Beast Ball
A Beast Ball is a fourth tier Poké Ball.
Unlike first, second, or third tier Poké Balls, Beast Balls require a diamond and a specific pattern of echo shards and gold ingots to craft.
Like most Poké Balls, its catch rate can change drastically under specific conditions.
It has a catch rate of 5× on Ultra Beasts, 0.1× otherwise.
All other Poké Balls have a 0.1× catch rate on Ultra Beasts.
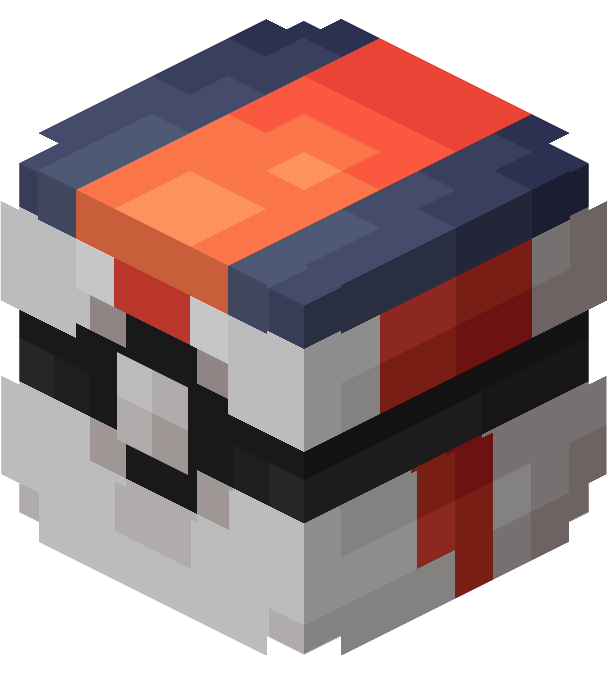
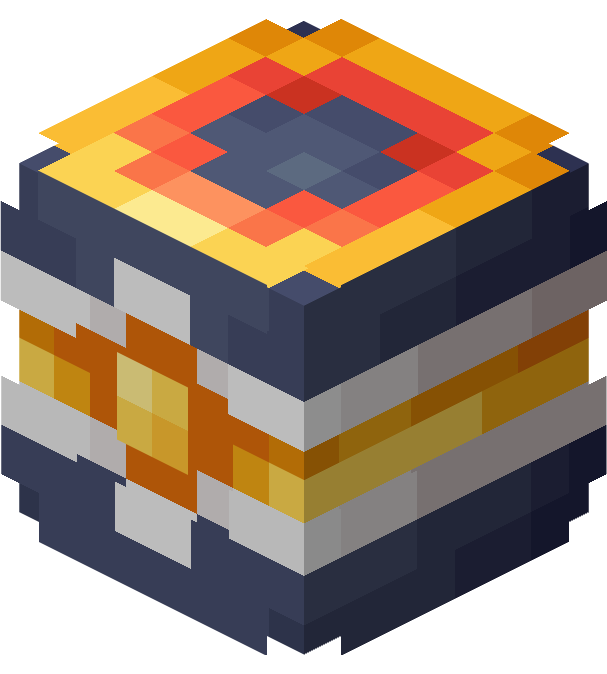
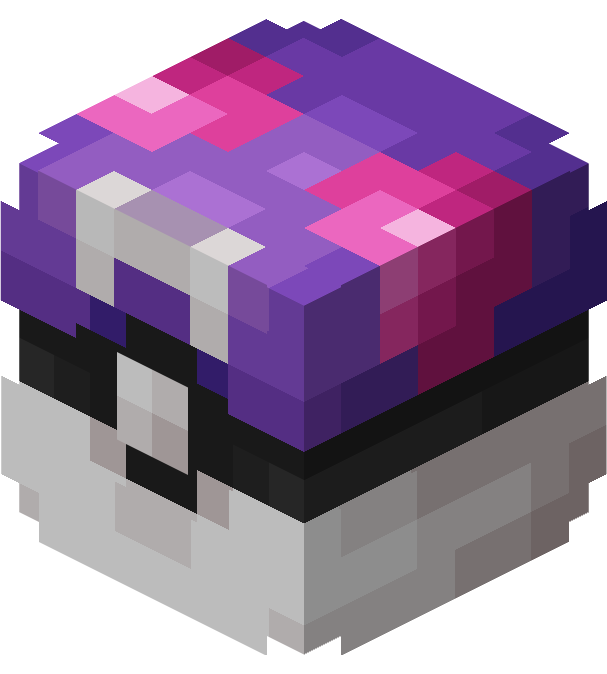
Master Ball
A Master Ball is the highest tier of Poké Ball.
Unlike the other tiers of Poké Balls, Master Balls require a nether star and a specific pattern of shulker shells and netherite ingots to craft.
It functions as the final upgrade to the Poké Ball, as it has a higher static catch rate.
It has a 100% catch rate, meaning that it will never fail in catching a target.
Due to it being crafted with Netherite, the Master Ball will not burn in fire or lava.
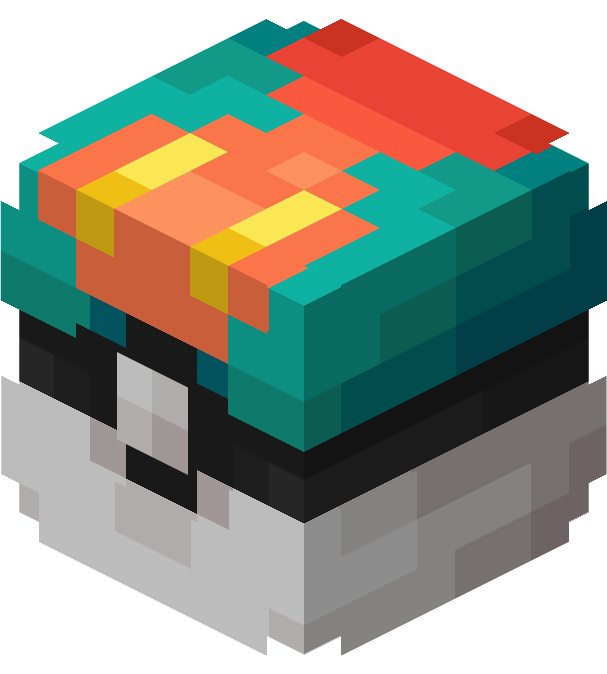
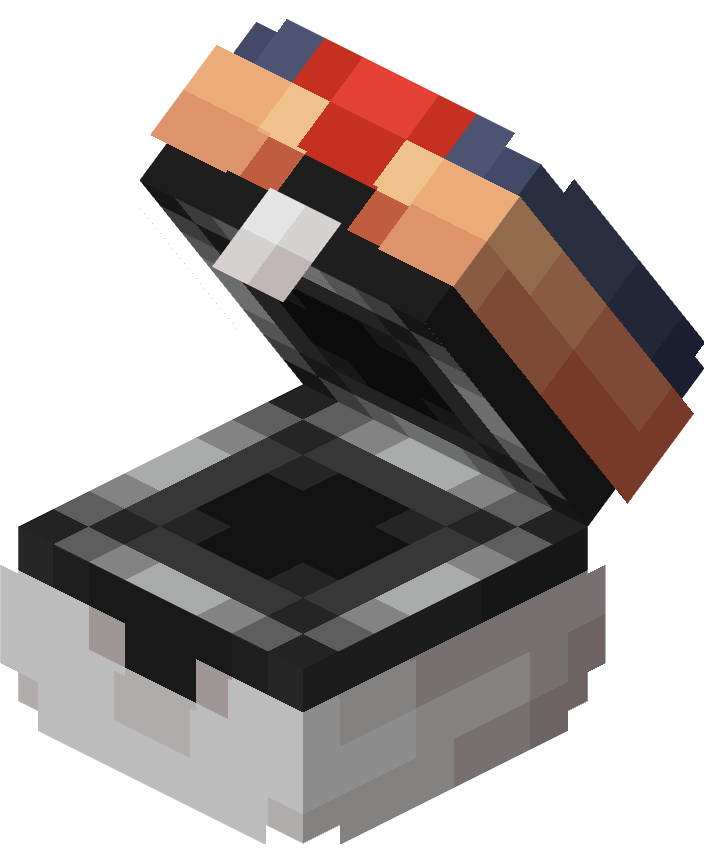
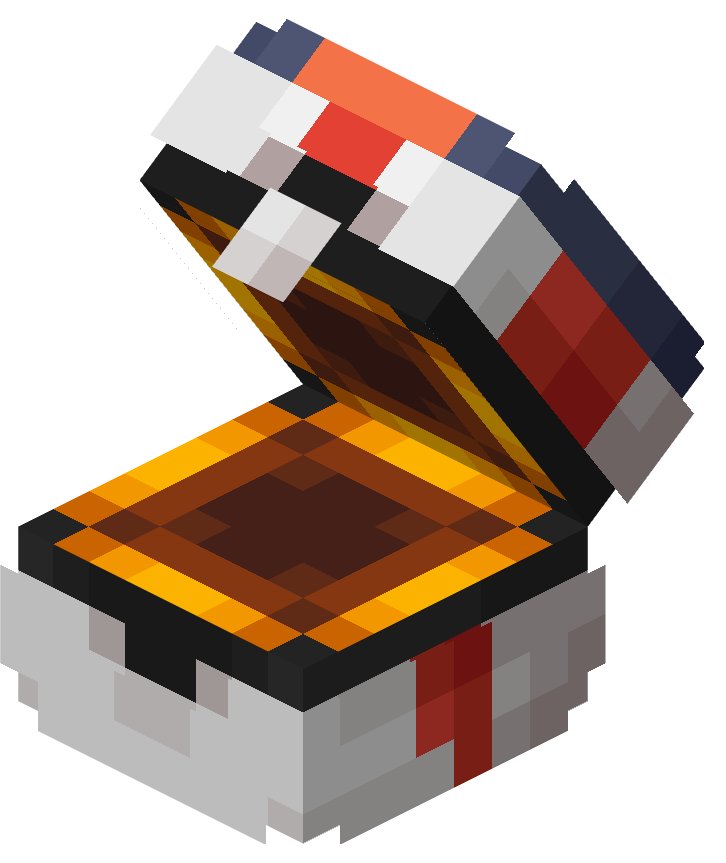
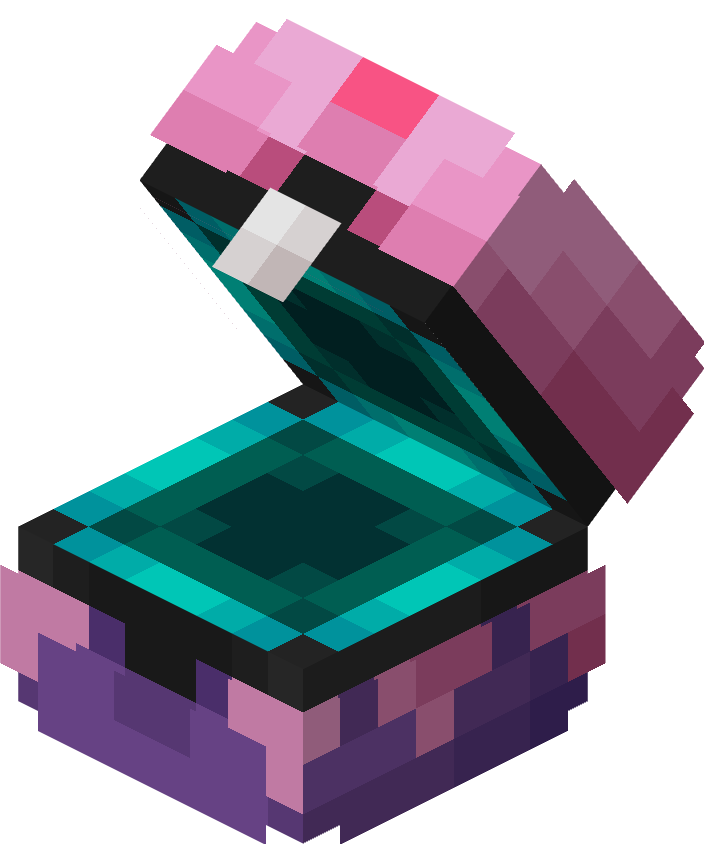
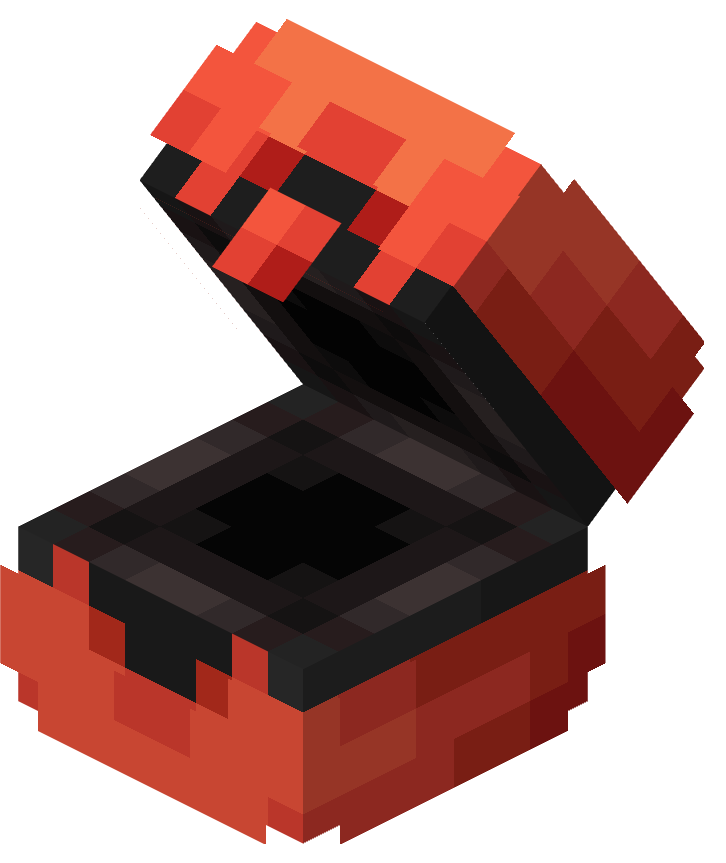
Cherish Ball
A Cherish Ball is an untiered Poké Ball.
Unlike other Poké Balls, the Cherish Ball is not craftable or obtainable in normal gameplay.
Cherish Balls can freely be used for any purpose, such as for event distributions on servers.
If using commands or if obtained via Creative Mode, it has a static catch rate of 1×.
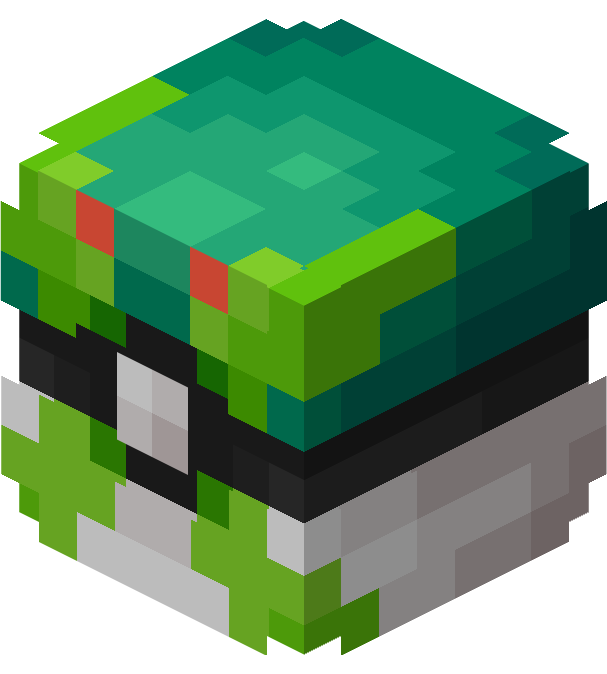
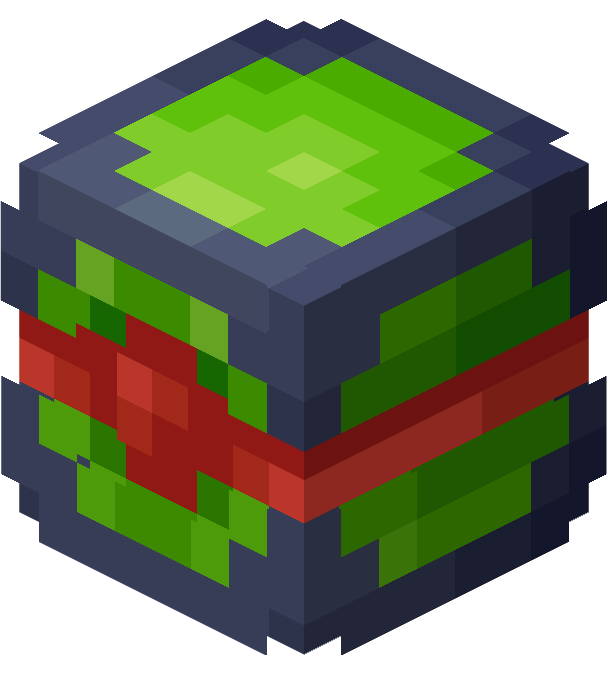
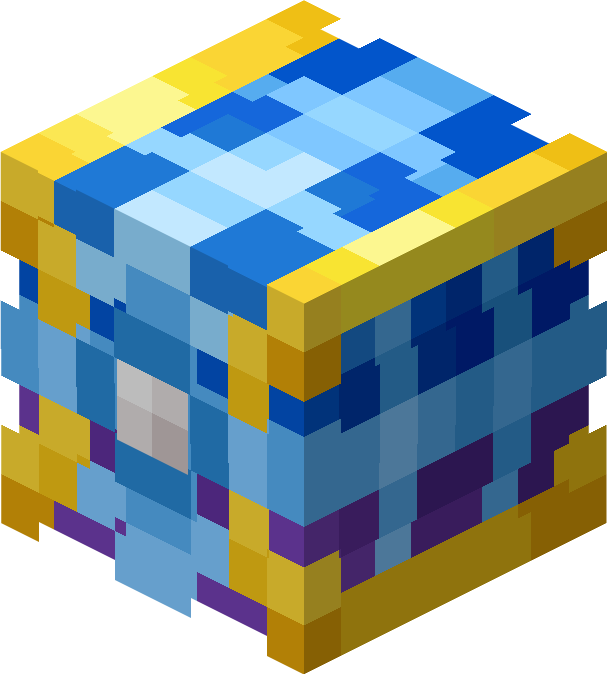
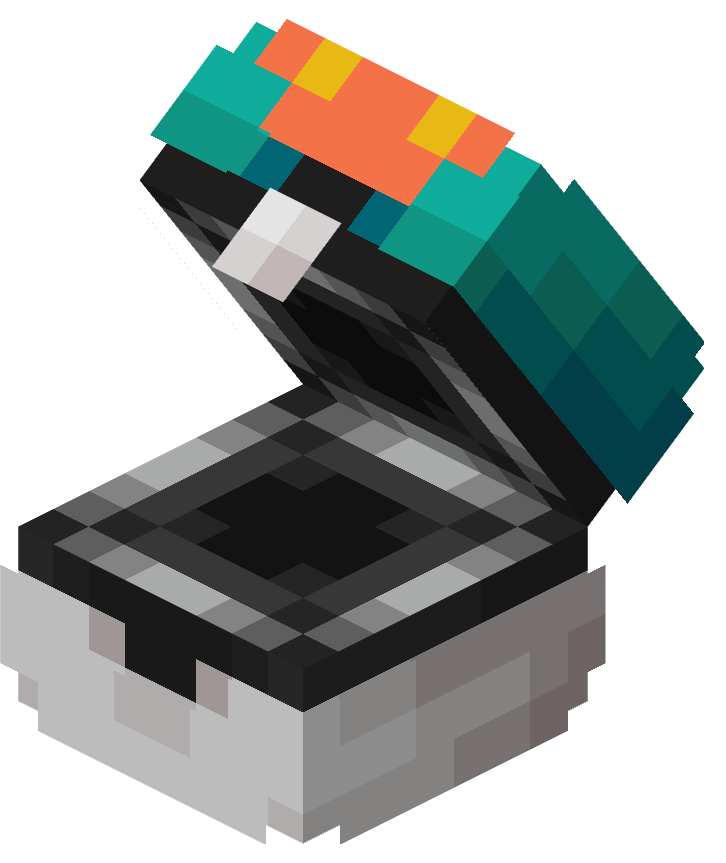
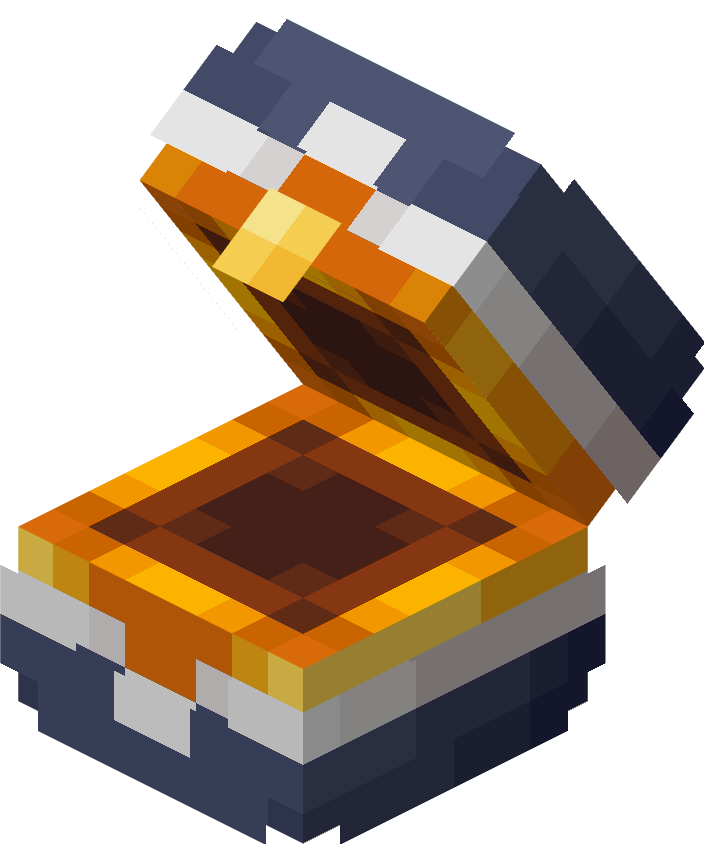
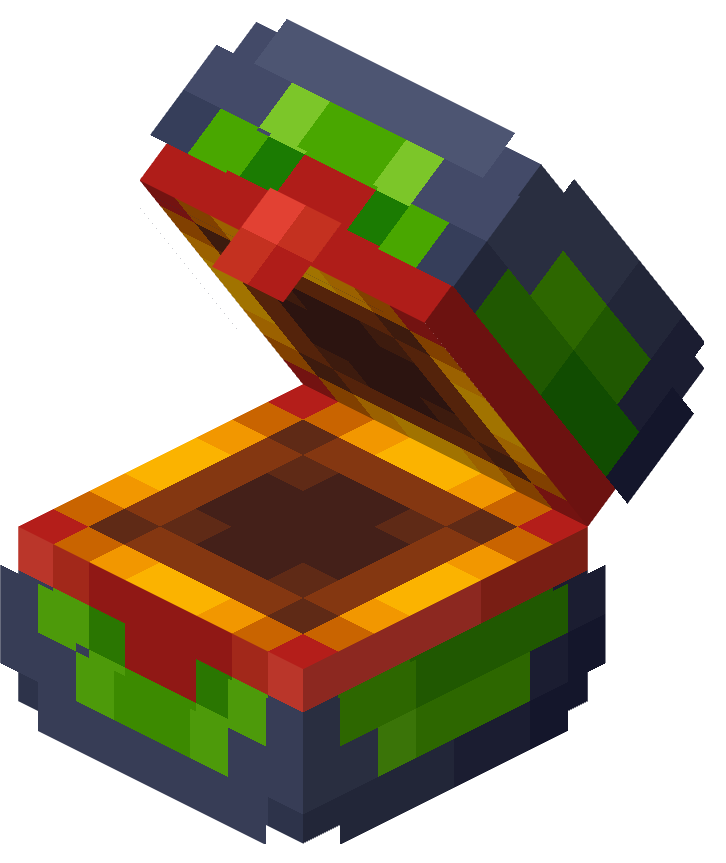
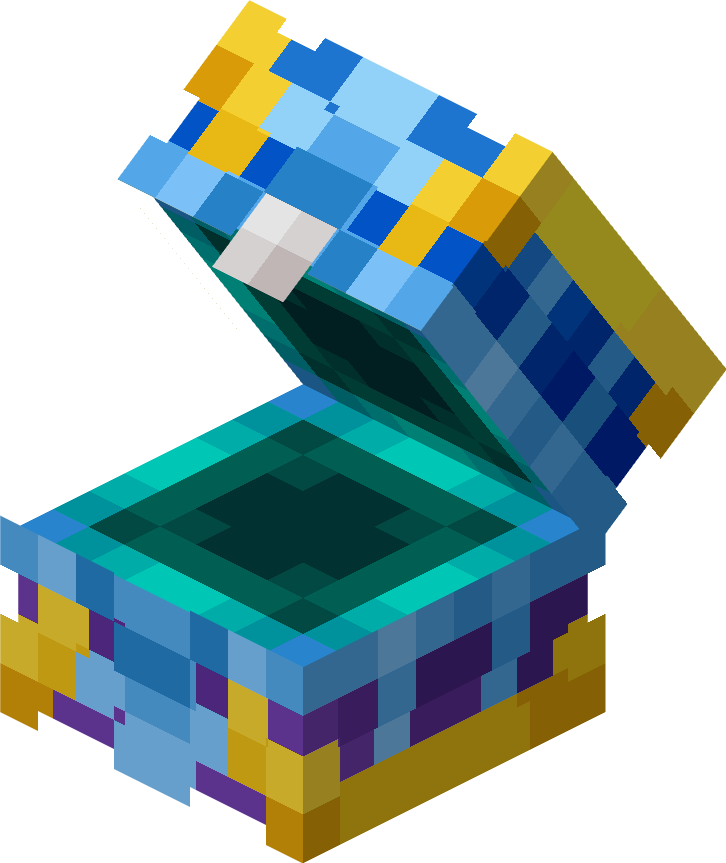
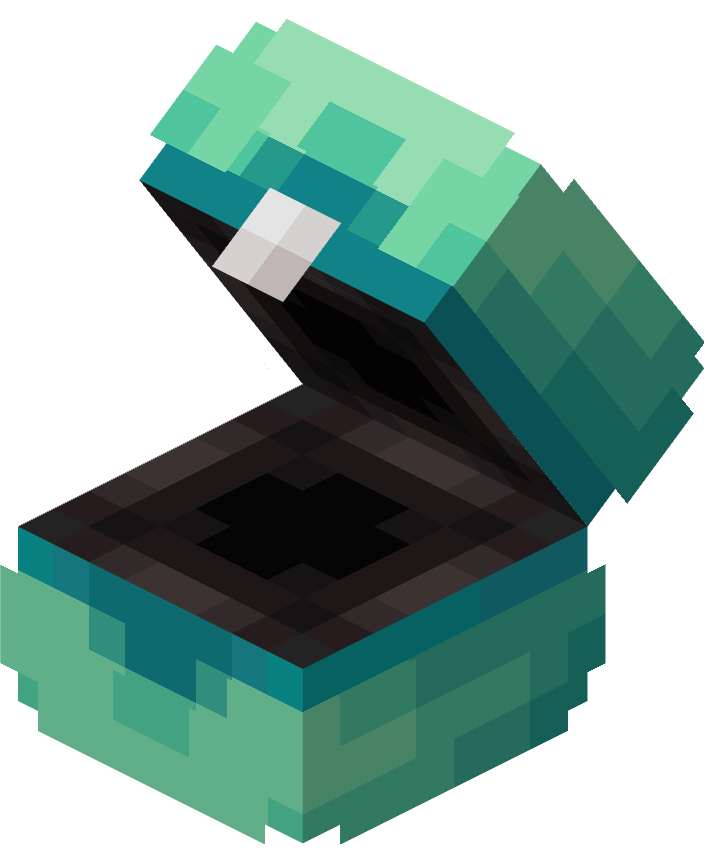
Strange Ball
A Strange Ball is an untiered Poké Ball.
Unlike other Poké Balls, the Strange Ball is not craftable or obtainable in any way. Its only purpose is to act as a placeholder for datapacks or errors, replacing a custom Poké Ball's model if it does not exist. Due to this, it also does not have an inventory icon, solely existing as a model.
History
| Version | Changes |
|---|---|
| 1.0.0 | Added Pokeballs. |
| 1.1.0 | Slightly polished the Poké Ball opening and Poké Ball item use sounds. |
| 1.2.0 | Fixed dropped item forms. |
| 1.3.0 |
|
| 1.4.0 |
|
| 1.4.1 | Updated the Poké Ball model and animations. |
| 1.5.0 |
|
| 1.5.1 |
|
| 1.6.0 |
|
| 1.6.1 |
|
| 1.7.0 |
|
